WELCOME

Hello! I'm Suzannah, a serious DIYer and mom of two little ones. Follow along with my DIY fixer upper house renovations, sewing and crafty projects, real food recipes, and de-stressing goals.
I believe you can love your home just the way it is, AND have the power to design and make big changes to make it better.
I'm also the author of DIY Wardrobe Makeovers!

tutorial
Showing posts with label tutorial. Show all posts

1.17.2023

How to recover a curved, nailhead headboard - tutorial!

I wanted a really unique, cool headboard for my One Room Challenge guest room but I wasn't prepared for a full-on from-scratch plywood etc. DIY headboard. I found a curved headboard with nailhead trim (not my favorite) for $10 on Facebook Marketplace and recovered it with a beautiful fabric, and found a great solution for covering up the nailhead trim. I didn't even have to remove it! Easy tutorial here!


DIY recovered curved headboard tutorial


You will need:

  • Headboard
  • Fabric (plan to run the fabric vertically, so enough for the width and height of the headboard plus 6"+ on each side--I had to use two widths of my 53" wide fabric for my full/queen headboard)
  • Optional/if your headboard is dark and your fabric is light: white spray paint
  • Spray adhesive
  • Staple gun and staples
  • High heat hot glue gun and glue
  • Piping cord (or, I used macrame cord since I liked the size better)
  • Zipper foot
    • Or, for simpler/no sewing, contrast trim!
  • Standard sewing tools

Instructions:

1. Measure out and dry fit the fabric. I had to piece mine so I chose how I wanted to center the pattern on the headboard.


No comments

6.21.2022

From-scratch sink skirt tutorial

The sink skirt is back! It's not just to hide unattractive plumbing; it can add so much charm and softness to an otherwise standard-feeling bathroom. I added a floral block print sink skirt to the pedestal sink in our recent basement bathroom project and it made it so much more fun!

I started my sink skirt journey by turning two shower curtains into sink skirts for my friend @ciarakenaston. It was a genius idea of hers--clearance West Elm Heather Taylor Home big gingham shower curtains, sturdy fabric and great colors. You can see the stories here and the finished product here

Making a sink skirt from a shower curtain is by far easier than what I did for our bathroom. I highly recommend that shortcut route! They come hemmed on all three sides; all you have to do is add a casing at the top for elastic or gathering and attach it with velcro. But if you want to pick your fabric (even use a lighter weight fabric) and make something totally custom... this tutorial will tell you how!

Sink Skirt Tutorial


You will need:

No comments

4.08.2022

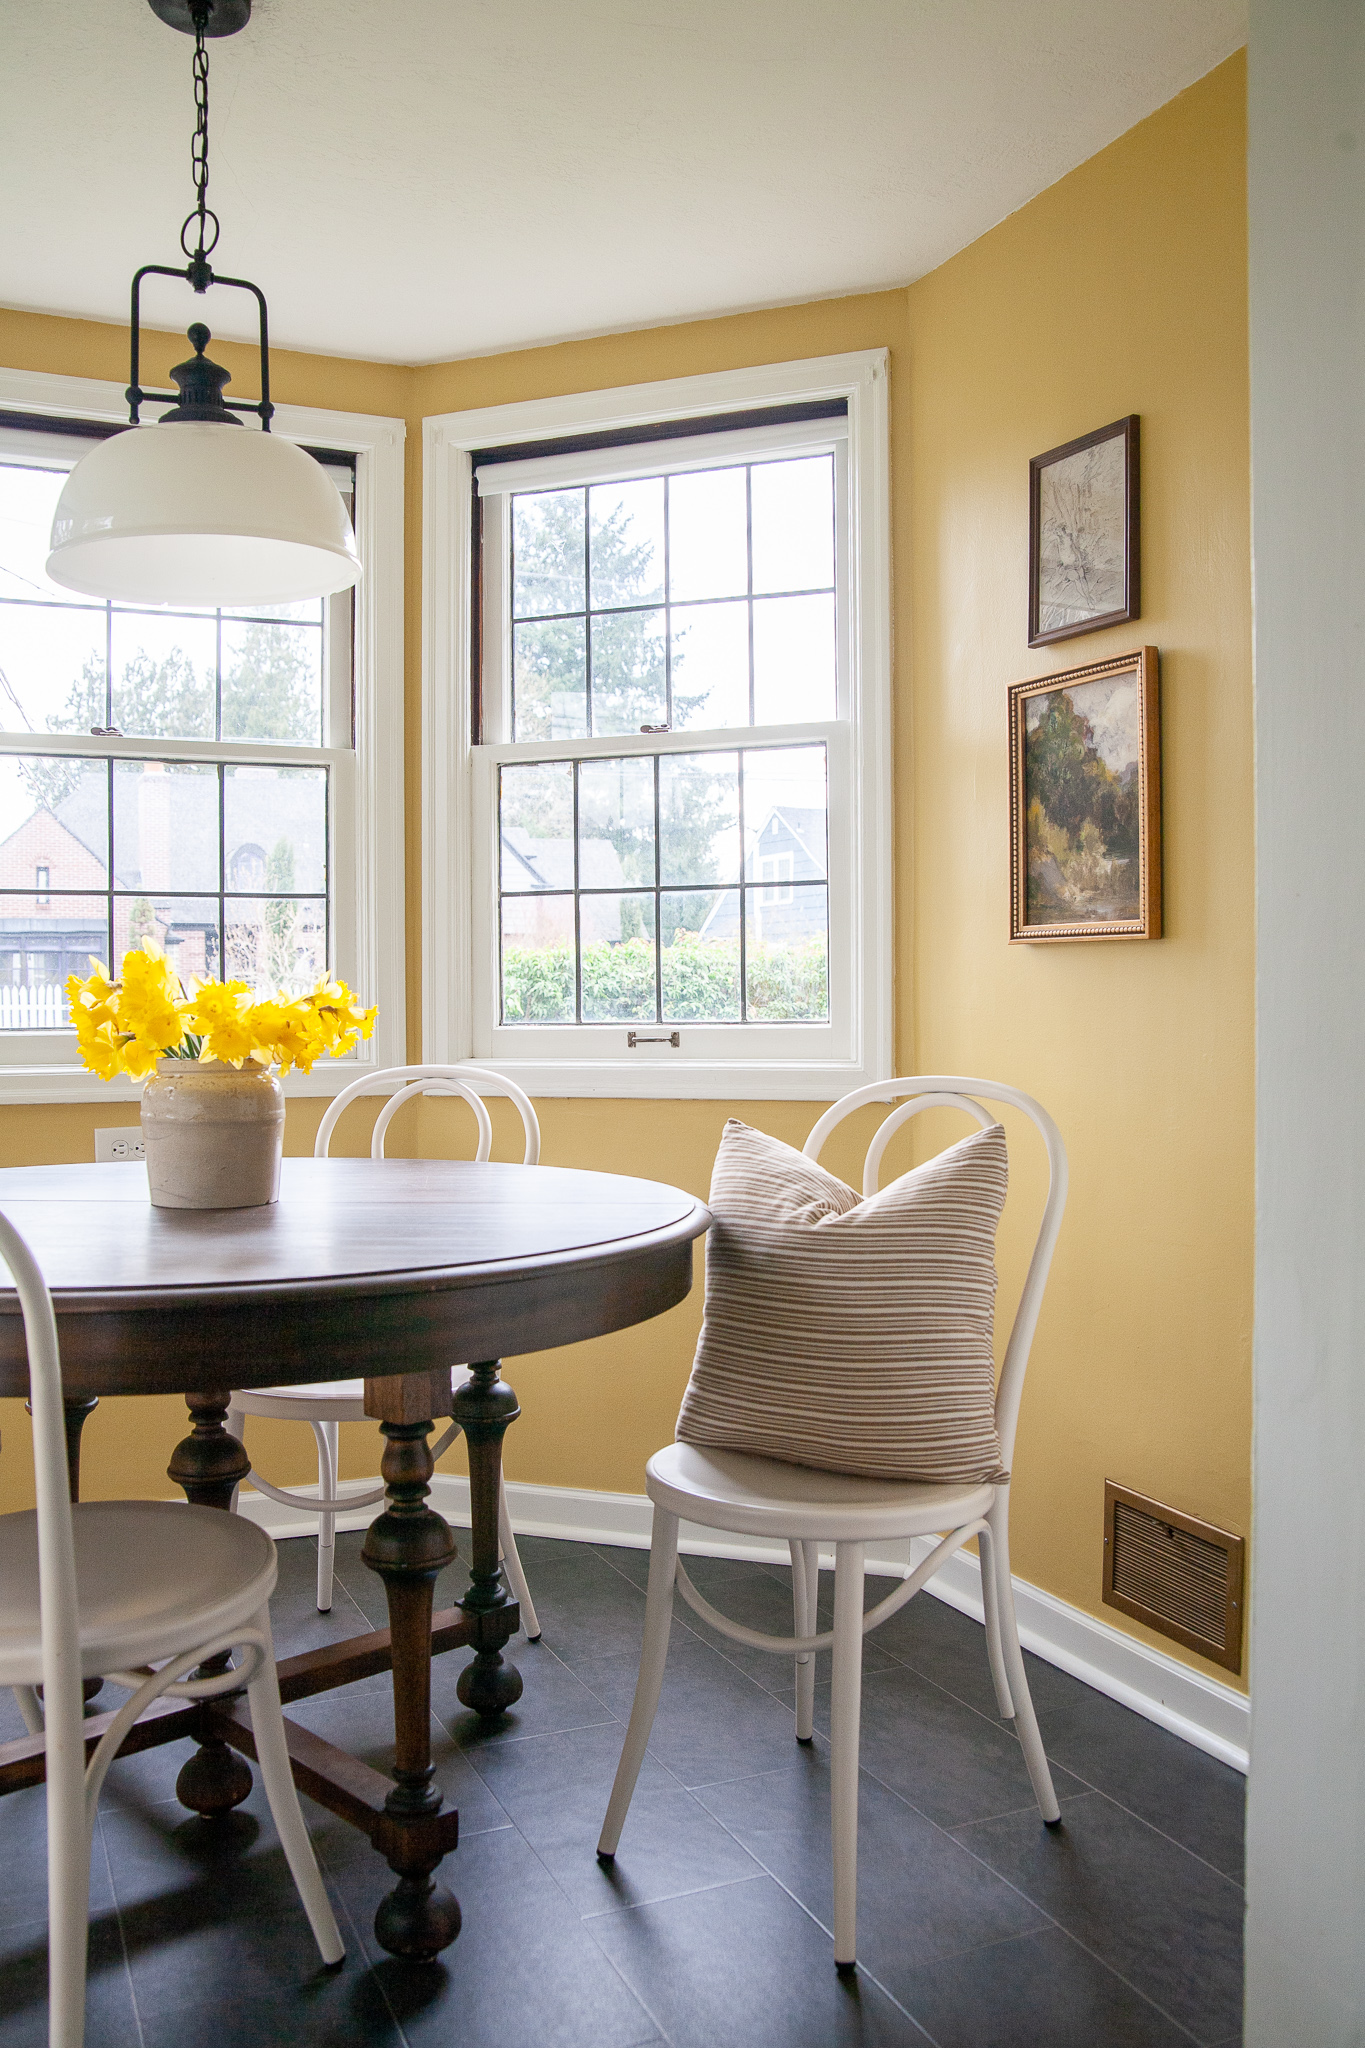
Breakfast nook paint reveal! And the importance of proper prep

I did it! I painted our breakfast nook, which involved not only a lot of edging (so many windows!) but also sanding and priming to fix some texture issues on the walls. Our house is from the 1930's and the plaster is in pretty good shape most places (that is, where it wasn't wallpapered then painted over that so who knows), but there were a ton of paint drips in this breakfast nook, and some all-directions brush strokes that bugged me. 

I sanded, primed, and added one even coat of a beautiful, rich paint color and... it's a new space!

Thanks to KILZ® for sponsoring this post!

No comments

3.11.2022

I tried the pleated shade tutorial! Sconce shades

I'm totally on board with the pleated lampshade trend, and have done it before with a no-sew method. I had my friend Nancy (@thehillsidehouse) share her pro quality method in this tutorial though, and I wanted to try it!

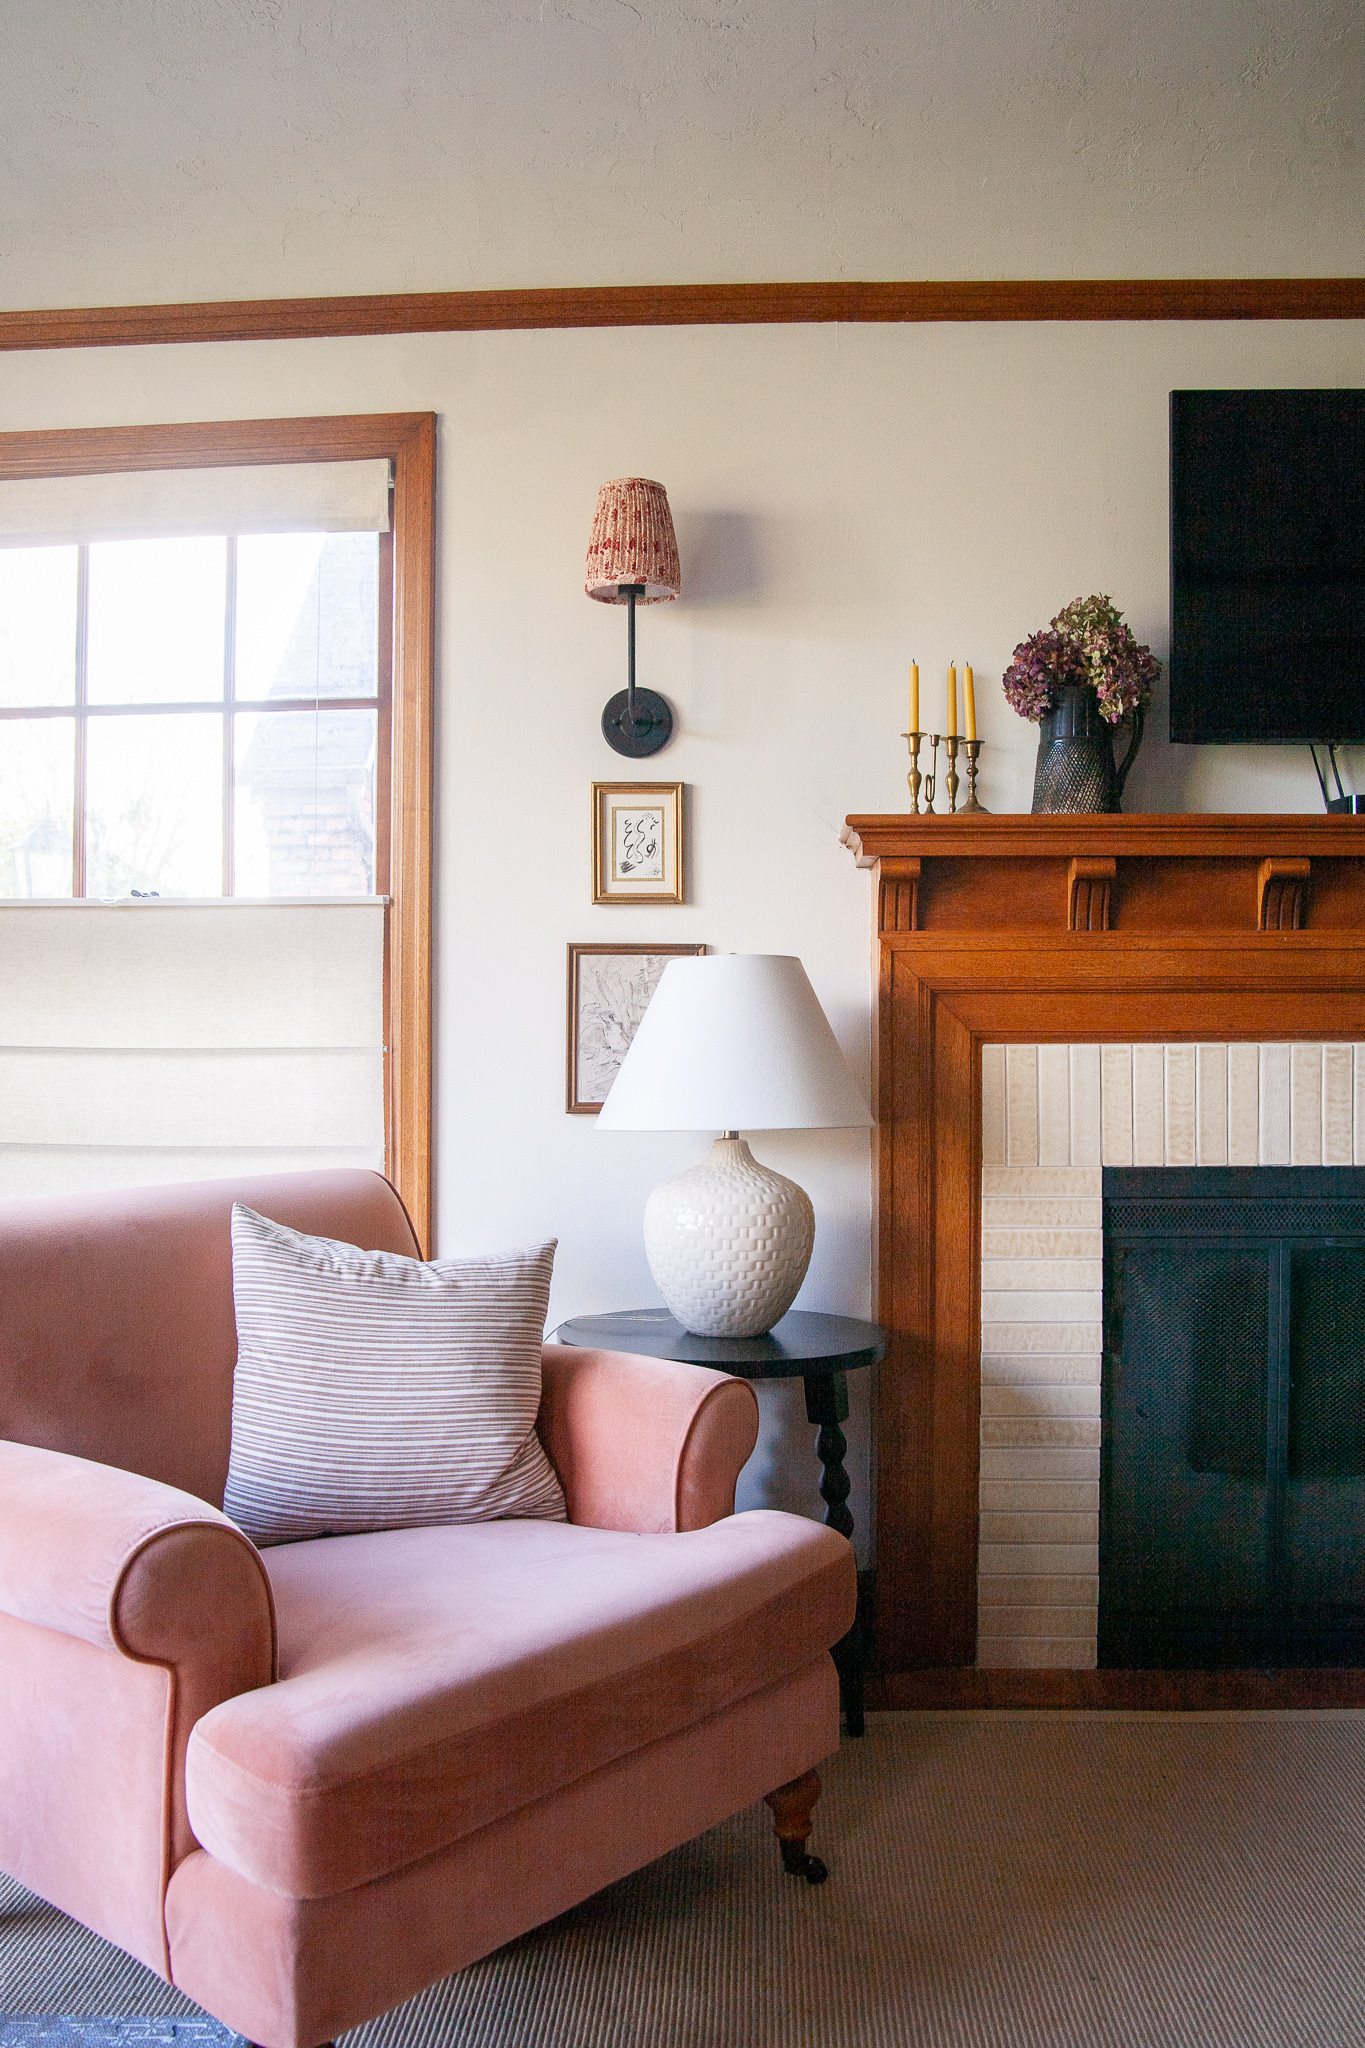
I had added some sconces on either side of our fireplace a while back, a popular style with a curved arm and white shade. They’re cute, but sort of everywhere right now, and I wanted something more custom-feeling and to add some color. So a great opportunity for this method!

DIY pleaded sconce shades

I’ll spare you all the steps (since it’s exactly what we did in this tutorial, except I did the sewn down pleats on the bottom of the shade and then hand pleated the top, so they are extra deep pleats at the top for a fuller look), although I do have this story highlight on my Instagram if you’d like to see video.


No comments

1.06.2022

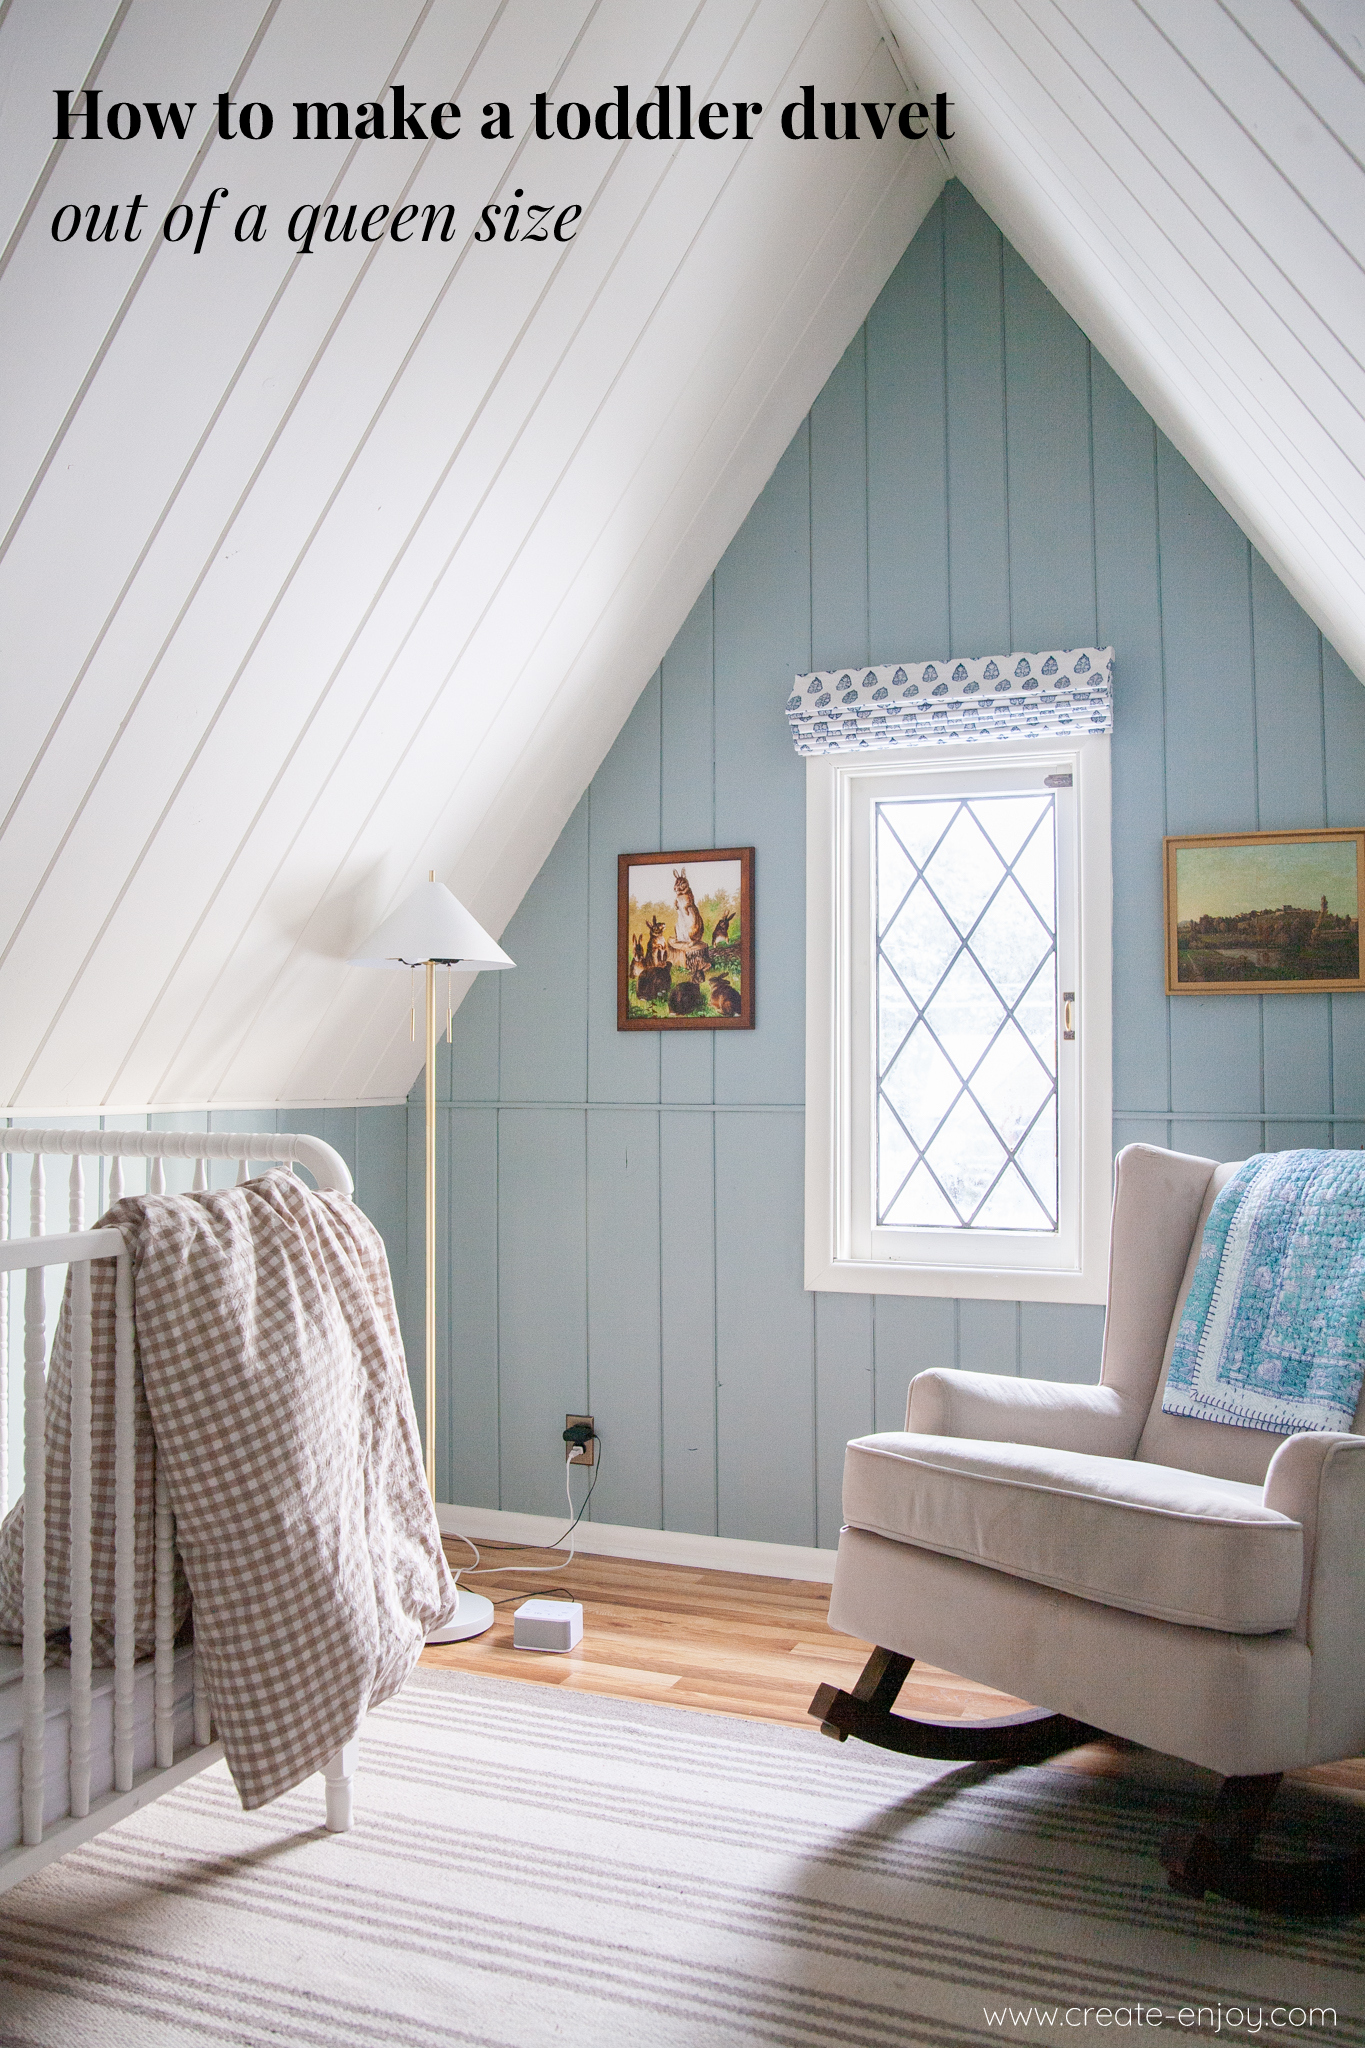
How to make a toddler comforter and duvet cover from a queen!

I am so excited about this project! And it’s so silly and was such simple sewing, but it’s really making me happy. All born out of the need for a toddler size duvet for 1-year-old Lucy. 

I started shopping for a down comforter and cover for Lucy and realized they are all very different sizes across brands so it’s hard to mix-and-match, and there’s not a lot of selection. It’s definitely more work, but I realized I could purchase a queen size comforter and turn it into two: one for Lucy, one for Otto, who until now has been sort of drowning in his twin size comforter. Then when I went to buy the covers, I knew the size would fit if I bought a queen sized cover in a cute pattern and made it into two also! And I found the sweetest little tan gingham that works great for both of their rooms. This is a really great easy sewing project and I’m sharing it step-by-step!
No comments

10.18.2021

EASY contrast trim pleated lampshade tutorial (no-sew, minimal cuts)

I’ve seen pleated lampshades around a lot lately, even shared a guest tutorial for a beautiful method here! I hadn’t made one yet myself. When I did… I always like to try something new, so I combined the methods I’d seen on DIY tutorials on blogs and some tips I was able to gather from the pros, and came up with this no-sew pleated lampshade tutorial that will work on large or small lampshades, drum or empire shape!
No comments

7.22.2021

How to shorten and recover a readymade Roman shade

After my huge success recovering a cheap blackout Roman shade for Lucy's room with some pretty block print fabric, I decided I need at least one more custom fabric shade! Our upstairs bathroom gets crazy sun in the afternoons and I knew I'd have to hang something pretty but also very functional there. (We renovated it last fall, and it's not a problem in the fall/winter.) The problem with my readymade blackout shade project? The cheap Roman shades only come in a couple lengths (like 60") and that window is short. 

You can hang a too-long shade on a window and just leave a bunch of extra at the bottom... but it's not ideal. I ordered the right width of this Roman shade (around $50) and figured there must be a way to shorten it. Well, there is, and I'm sharing how!

No comments

7.15.2021

DIY painted peg row instead of closet in Lucy's nursery

So happy with this solution! Lucy's charming nursery is a funky sort of bonus room that doesn't have a closet. 

No comments

7.12.2021

How to make a slipcover using but preserving the old one as a pattern

The biggest DIY project in my recent home office renovation was a sewing project! Back to my roots, I guess! I found a really nice slipcovered armchair on Facebook Marketplace for $40 and honestly, the slipcover was fine as-is, just neutral cotton canvas, but I wanted something definitely not neutral! 

I've made slipcovers before (like this one in 2014 and these in 2016) but I was definitely more confident doing it by cutting apart the previous slipcover and modifying it (or doing a simpler chair style). I didn't want to do that this time since the original slipcover was still in great shape! I could have two outfits for this chair!

So I figured it out. I used the previous slipcover as a pattern and made this new beautiful linen ruffled slipcover!

How to make a slipcover using and preserving the old one

Here she is! That blue linen is this one from Fashion Fabrics Club. The original one is a heavy cotton twill and it looks loose and wrinkly in the photo below, but really it just wasn't tucked in all the way to the chair's deep crevices, ha. 

No comments

6.14.2021

Pressed fern DIY wall art

This was a fun little project! Inspired by a c. 1986 pressed flower shadowbox frame I thrifted, I pressed a fern from our backyard and created a really pretty, unique art piece!

No comments

6.04.2021

Pro-quality DIY pleated lampshade tutorial!

I have a really wonderful tutorial to share with you today! Have you seen the pleated lampshade trend coming back strong?? Floral, plaid, colored, other beautiful fabrics on pleated lampshades are everywhere right now and looking so fresh in their own retro way. I’ve seen them running about $175 each though, so if you want the look you may want to DIY!

You definitely don’t have to be an expert at sewing to do this project. In fact you can fake it with probably no sewing experience! But there are a couple things that you can do with some basic sewing tools (and some slightly fancier ones) to make it easier on yourself and a much better product! 

I’ve seen a couple different methods for pleated shades going around and Nancy's (@thehillsidehouse) is by far the best. If you read my blog or follow me on Instagram, you probably know how much I love Nancy. She has added so much rich color, texture, high-end detail, and personality to her new build home, and she does it all herself. She’s also an expert seamstress and great at sourcing fabrics! She doesn’t have a blog of her own so I asked her if she would do a guest tutorial on my blog (remember how we used to do those back in like 2010?). This is a great way for me to introduce others to Nancy, and I am so excited to shout this method!
No comments

2.18.2021

Easy DIY fabric covered lampshades (and the block print sconce shades I love!)

I am really pumped about this project!!! After my successful spray adhesive/Indian block print cotton DIY Roman shade, I knew I could do this... it was even easier. I covered the shades of the sconces by our bed with a beautiful patterned cotton for a totally unique look!

Funnily, this is not the first time I've done this... in 2013 I did basically the same method on a thrifted lampshade and shared about it here, though I didn't show any step-by-step photos. Ha! This project is much cooler, anyway! 


DIY fabric covered lampshade tutorial


You will need:


That's it! Really short list! I did this outside with a helpful toddler playing in the mud and sand around me... not recommended. But it's nice to do it outside for ventilation and not getting spray adhesive mist on anything.

No comments

2.11.2021

DIY pinch pleated curtain dyeing tutorial!

I am really having fun with our bedroom decor now!! I just did a possibly risky, but actually very low-risk, project and dyed our curtains to turn them from the plain beige cotton IKEA ones I got many years ago to a beautiful rich green, and added pinch pleat tape and hooks for a more high-end look! 

I'd been considering doing something like this as a way to bring in more color and then one of my friends on Instagram @ciarakenaston did the same thing, a very similar green, for her living room and they look great! She reminded me that Rit has a bunch of formulas on their website so you can choose from any number of colors and they tell you, for the size of item you're dyeing, how many bottles or cups of each color of dye you need to get the exact color you want!

Curtain Dyeing Tutorial + Pinch Pleating

The soft color and extra width from the pleating even when closed really add a lot to our room!

(Don't mind the un-trimmed, just primed window... that's on the project list.)

No comments

1.11.2021

DIY custom patterned fabric Roman shade tutorial!!!

Possibly my favorite project of the year!!! though I started it in 2020 and just finished installing it now, so I'm not sure what year. I am SO happy with how this DIY custom fabric Roman shade came out!

I wanted to add pattern to Lucy's room but because the back wall is so small and has a pointed ceiling, there wasn't room for curtains and art, and curtains can look funny on unique windows anyway. I'm very particular about the pattern and color we bring in here and I didn't expect to find the right thing from a custom window treatment company (or want to pay for super custom).

So, I took an affordable fabric blackout Roman shade I found online (same as this one for more sizes) and covered it with the perfect Indian block print cotton. It was super fast, pretty easy (with a few tips I'll share below), and it turned out AWESOME and unique!!!

No comments

12.21.2020

DIY stair runner project complete!

We recently did a project I've been intimidated by for a while: installing a runner rug on our stairs. Well, it turned out to be one of the easier DIY home projects I've done! And it only took a few hours. It looks great, and our stairs are so much safer now!


DIY wool stair runner

No comments

11.11.2020

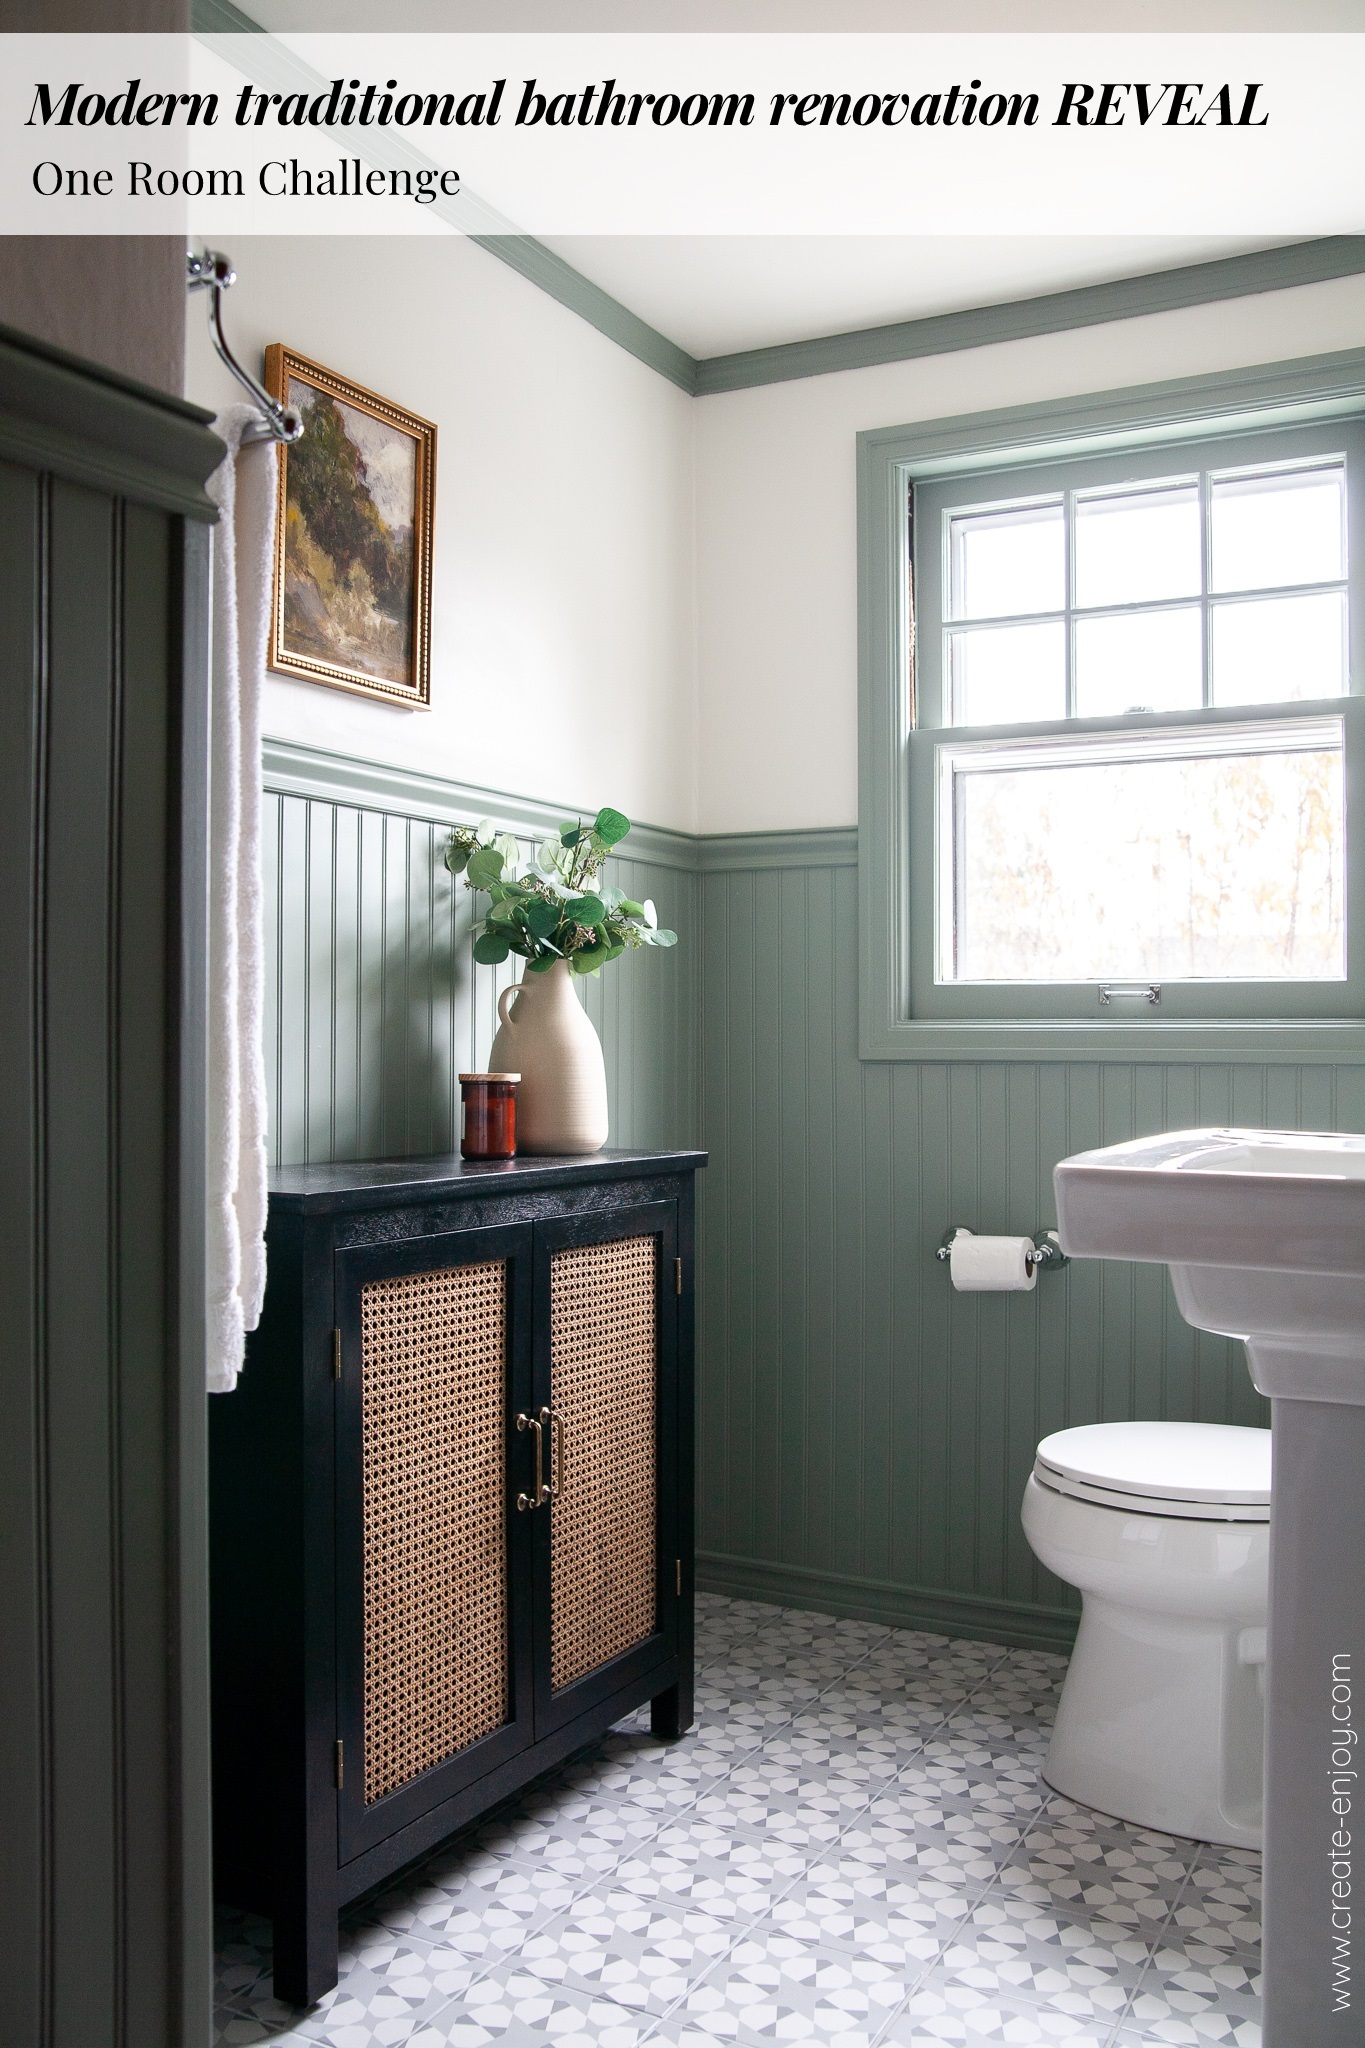
Modern traditional historic bathroom renovation REVEAL and cost! One Room Challenge Week 6

It is such a good feeling to finish a room!!! We've been renovating this house corner by corner over the past 2+ years and now almost all the hardest projects are done... and now we get to enjoy two beautiful bathrooms!

Over the past 5 weeks Jason and I have been working on our upstairs half bathroom as part of the One Room Challenge... it's been exciting, tiring, and satisfying. It is DONE now and I'm sharing the glamour shots, before photos, and total cost with you here!


New here?


If you're new to this blog from the ORC site, welcome!! I'm Suzannah, a longtime DIYer and design lover currently making over our 1937 Tudor revival style home, our second fixer-upper. I have a 2-year-old and newborn, but my husband and I have done almost all of the work on our homes ourselves! I've blogged about all of it so you can check out my tutorials page and room reveals to see. You can also follow along with me and my projects on Instagram! I also co-host the Your Home Story podcast!

See all my posts about this ORC here! And see:

Modern traditional historic bathroom renovation REVEAL


Where do I begin... if you remember from my Week 1 post with the before images and design concept, this is a half bathroom on the second floor of our 1930s home. There are two (and a half) bedrooms upstairs as well and we're moving our rooms up there this week!, now that this bathroom is done. We explored adding a shower which would have been a huge plus, but the cost and steps involved just aren't possible for us. That would not be a DIY project in this case and would involve reconfiguring a lot of walls and possibly the exterior.

So, we decided to just make this the best half bath we can!! Welcome in, I'll show you around!

No comments

11.05.2020

Antique found pot look DIY with baking soda, chalk, and more

The "found pot" DIY has been very popular on Instagram since @jaci.daily came up with it earlier this year (see this highlight). Spray paint a thrifted pot, vase, or lamp, then rub mud onto it and wipe it off. It's a super easy DIY project and gives a cool vintage look. 

There are a couple other vase/pot/lamp DIYs I've seen--#trashtoterracotta mixes baking soda with terra cotta-colored paint, and I've also seen a paint/chalk method. Well, I played around and combined them all, and Instagram has loved it! So I'm sharing the full method/tutorial here as well!

No comments

11.04.2020

Art!! Vintage oil painting look with digital prints. Week 5 One Room Challenge

The One Room Challenge bathroom reno is almost done! When I do these all-at-once room renos it's easy to leave art and styling until the last minute. Well, this time I planned ahead and ordered a beautiful print in a new way that makes for a vintage oil painting look in any size and print you want!

Thanks to Museum Quality Art and Mpix for providing one of the prints for this project!


New here?


If you're new to this blog from the ORC site, welcome!! I'm Suzannah, a longtime DIYer and design lover currently making over our 1937 Tudor revival style home, our second fixer-upper. I have a 2-year-old and newborn, but my husband and I have done almost all of the work on our homes ourselves! I've blogged about all of it so you can check out my tutorials page and room reveals to see. You can also follow along with me and my projects on Instagram! I also co-host the Your Home Story podcast!

See all my posts about this ORC here! And see:
This time, when I was putting together the initial design plans, the room was looking pretty flat and boring (a white background collage with white toilet and sink will do that). The purpose of my mood boarding is usually to identify big pieces like tile, metal colors, and big accent pieces, but this time around I added in some art ideas too! It really made it look more interesting and give me a sense of what this room will feel like. I also decided I wanted a black/gold textured, antique-looking (but not too heavy) frame to pick up on the black of the cabinet, and add some warmth/contrast with the chrome plumbing and lighting fixtures.

So I set out to find the perfect oil painting image, and get it printed and framed in a way that would look like an oil painting!

How to get a digital download to look like an old oil painting


No comments

10.28.2020

Choosing the perfect paint and COLOR! Big changes in the bathroom reno. Week 4 One Room Challenge

We've turned a corner and the One Room Challenge bathroom reno is looking VERY different this week! I went outside my comfort zone because my comfort zone was feeling boring for this one. We now have beautiful, not-white-or-neutral painted wainscoting in the bathroom!


New here?


If you're new to this blog from the ORC site, welcome!! I'm Suzannah, a longtime DIYer and design lover currently making over our 1937 Tudor revival style home, our second fixer-upper. I have a 2-year-old and newborn, but my husband and I have done almost all of the work on our homes ourselves! I've blogged about all of it so you can check out my tutorials page and room reveals to see. You can also follow along with me and my projects on Instagram! I also co-host the Your Home Story podcast!

See all my posts about this ORC here! And see:
As you may remember in the design plans, I originally was thinking white beadboard... classic, what's not to like (like for resale), matches the trim we had already painted when we moved in. But I'd also seen some beautiful bathroom inspiration images with dusty teal trim or vanity (see three faves here). The third image, this powder bath by Studio McGee, uses Pigeon by Farrow & Ball. I looked it up... it's really a chameleon color and more grey-blue than teal. I decided to just take a look at the dusty teal options at Sherwin Williams and pick one of those.

No comments

10.21.2020

How to lay medium-sized square tile: Tutorial and Week 3 One Room Challenge progress

We are more than halfway through the 6-week One Room Challenge! We are making great progress on our bathroom reno AND I have a tutorial for you today, with some great tips on how to lay the type of tile we used.


New here?


If you're new to this blog from the ORC site, welcome!! I'm Suzannah, a longtime DIYer and design lover currently making over our 1937 Tudor revival style home, our second fixer-upper. I have a 2-year-old and newborn, but my husband and I have done almost all of the work on our homes ourselves! I've blogged about all of it so you can check out my tutorials page and room reveals to see. You can also follow along with me and my projects on Instagram! I also co-host the Your Home Story podcast!

See all my posts about this ORC here! And see:
I absolutely believe that tiling is one of the top 5 essential DIY skills! I have done it so many times now and every time it makes the room feel so much more intentional and high-quality. I love using a real tiles, and it is not that much more expensive or that much harder than alternate methods which may not last as long.

I’ve used mosaic tiles (small tiles that come attached to ~1 SF sheets), large hexagon tilessubway tilessubway tiles in a unique pattern, and square tiles. They all have their pros and cons! I often recommend mosaic tiles to new tilers, because they are more forgiving, but I really like the ease of cleaning larger tiles. Plus, patterned tiles (which are often medium-sized square) can make such a great impact!

We used patterned tile in our en-suite bathroom at our last house, and they really made that room exciting. In a space with white walls and other neutrals like a white toilet and sink or vanity, something fun on the floor is a really great way to make a permanent statement, which has more authority than painted walls, as a way to add color.

But, with that project at our last house a couple years ago, I made a couple mistakes and I learned some things. This time around, I wanted to do an even better job laying these square tiles! The ones we chose are 8", which I think of as a medium size tile. It’s not tiny like the ones on mosaic sheets, which allow for more imperfections in the mortar or tile board underneath, but it’s also not massive like some of those 12"x24" tiles, which I’ve never used but look harder to work with.

So, here’s a tutorial sharing what we’ve learned for laying medium sized square tile!

No comments

Search

© Create / Enjoy • Theme by Maira G.