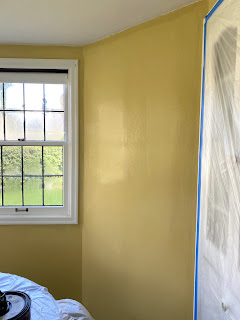
I did it! I painted our breakfast nook, which involved not only a lot of edging (so many windows!) but also sanding and priming to fix some texture issues on the walls. Our house is from the 1930's and the plaster is in pretty good shape most places (that is, where it wasn't wallpapered then painted over that so who knows), but there were a ton of paint drips in this breakfast nook, and some all-directions brush strokes that bugged me.
I sanded, primed, and added one even coat of a beautiful, rich paint color and... it's a new space!
Thanks to KILZ® for sponsoring this post!
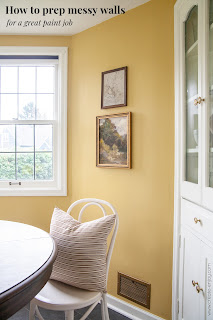
How to prep messy walls for paint
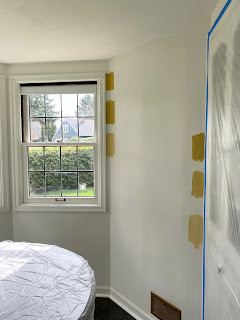
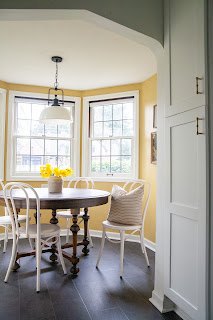
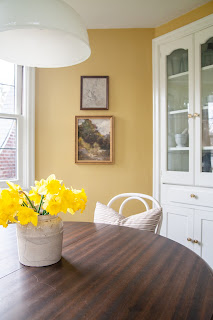
Our breakfast nook is right off our kitchen and we eat here at least twice a day with the kids. Seeing the drips and uneven places all the time stressed me out! And while the white walls were a relief when we first moved in (we painted the whole house white, over a rainbow of different colors in every room), it was starting to feel boring. This room gets a ton of sun in the mornings and I thought a complex, interesting yellow would be perfect. (I chose Gilded by BEHR.)
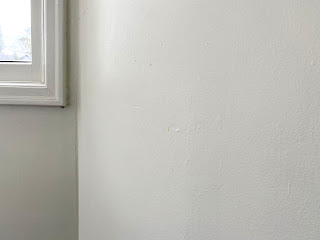
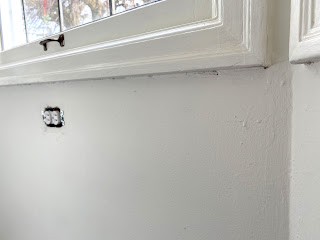
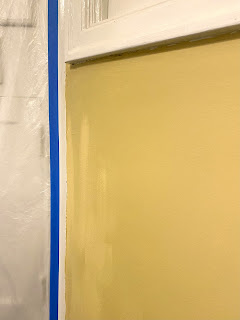
The walls in here were... messy. (Not just with smushed peanut butter and banana baby handprints--we clean that up. ;)) Look closely... funny drips and a couple long cracks in the plaster. Under all the windows and around some of the other edges, crisscrossing brush strokes.
First I taped off the built-in cabinets and taped off the arch into the kitchen, since I knew I'd be making dust.
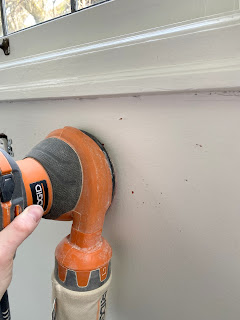
I sanded with an orbital sander and smoothed out those drips, evened out the brush stroke areas, and even flatted out the cracks which had been painted over before and had extra raised areas from the paint. You can see in this picture the dark red coming through the white. The whole kitchen was that color
when we first bought the house!
I used
KILZ® 2 all-purpose primer. This is a super versatile, easy to use primer.
KILZ® is known as a stain-blocker and this primer does have mildew resistance and sealing properties, but it also blocks color like that dark red and helps with adhesion. It dries super fast and cleans up with water, and works for interior or exterior uses on surfaces including woodwork, drywall, plaster, paneling, masonry, brick, painted metal, and more.
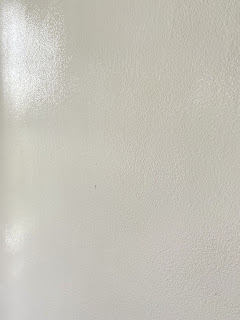
I did one coat of
KILZ® 2 all-purpose primer (edging, then rolling the big areas) and it almost entirely covered up the bits of red paint coming through, and gave a better surface for the paint over the sanded areas.
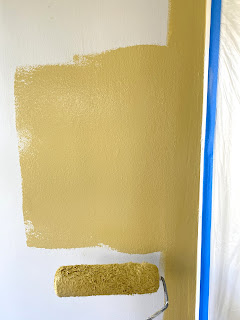
Now for paint! I use the 3 SF technique: get paint on the roller, paint about 3 SF on the wall, repeat. You aren’t trying to stretch as much paint out of the roller as possible so you end up with even coverage on the whole wall.
One coat, great coverage!
I looked at it again once fully dry and saw a few spots so I touched up a very partial second coat.
It took me two days to do this whole project, only working when the kids were napping or entertained. Really proud of myself, actually. Fast!
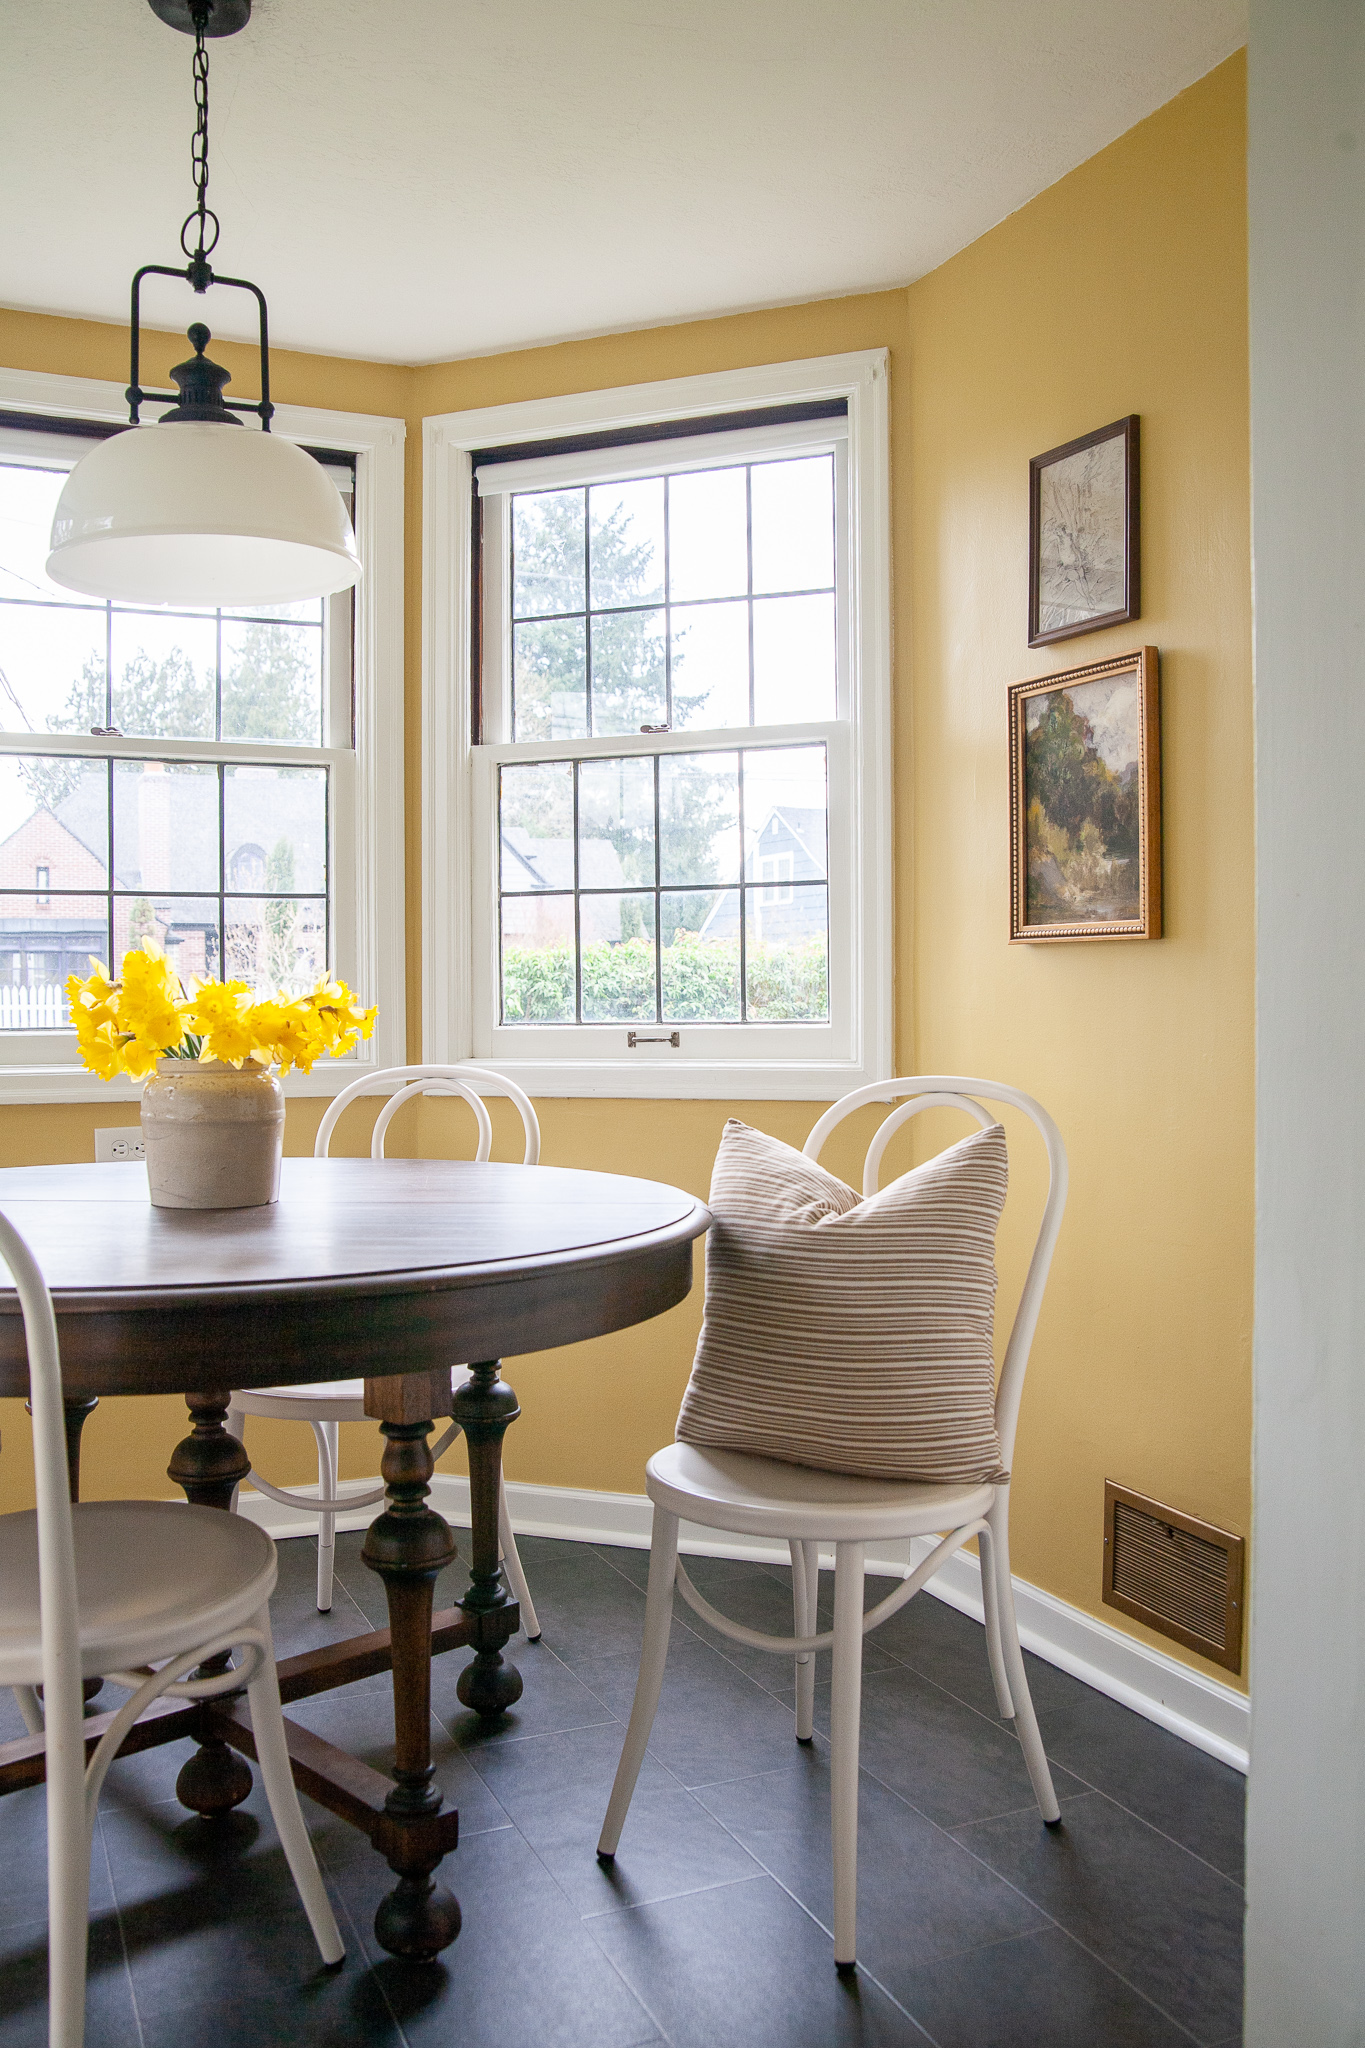
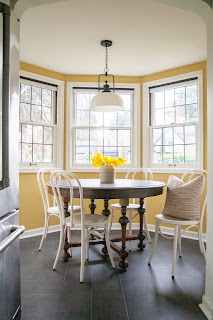
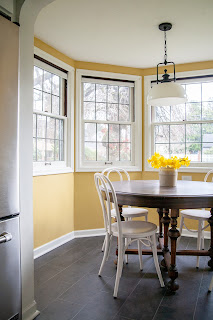
Here's the breakfast nook now!
I also got lucky and found an incredible antique dining table a thrift store for $29.99 right before I did this project! I've wanted to replace the one we had in here for years, with something dark and with a special base or feet.
I've also considered round seat cushions for these chairs, maybe in gingham. I couldn't find any so I might have to make some! I've also thought about making cafe curtains for these windows, like the one
I did above our kitchen window. But for now it feels so fresh and welcoming with the new paint, table, and art I moved over there.
I'm so happy with how this sunny space turned out and so glad I took the time to prepare and do it right.
Thanks to KILZ® for sponsoring this post! @KILZ #EveryProjectisWorthIt so show yours!


No comments
Post a Comment