

How to measure and hang a grid gallery wall! Dining room art with affordable custom frames & hardware
In our case, I want a big piece above our fireplace, so I wanted to do a gallery wall in the dining room. But, I love order and simplicity--so I chose a grid-style gallery wall of similar, evenly spaced pieces (that type is also much easier for me to arrange!).
Don't let spacing and hanging your frames perfectly evenly intimidate you--I'll show you exactly how we did it and got it right!
Thanks so much to ArttoFrames for providing these frames for my dining room project!
This post contains affiliate links.
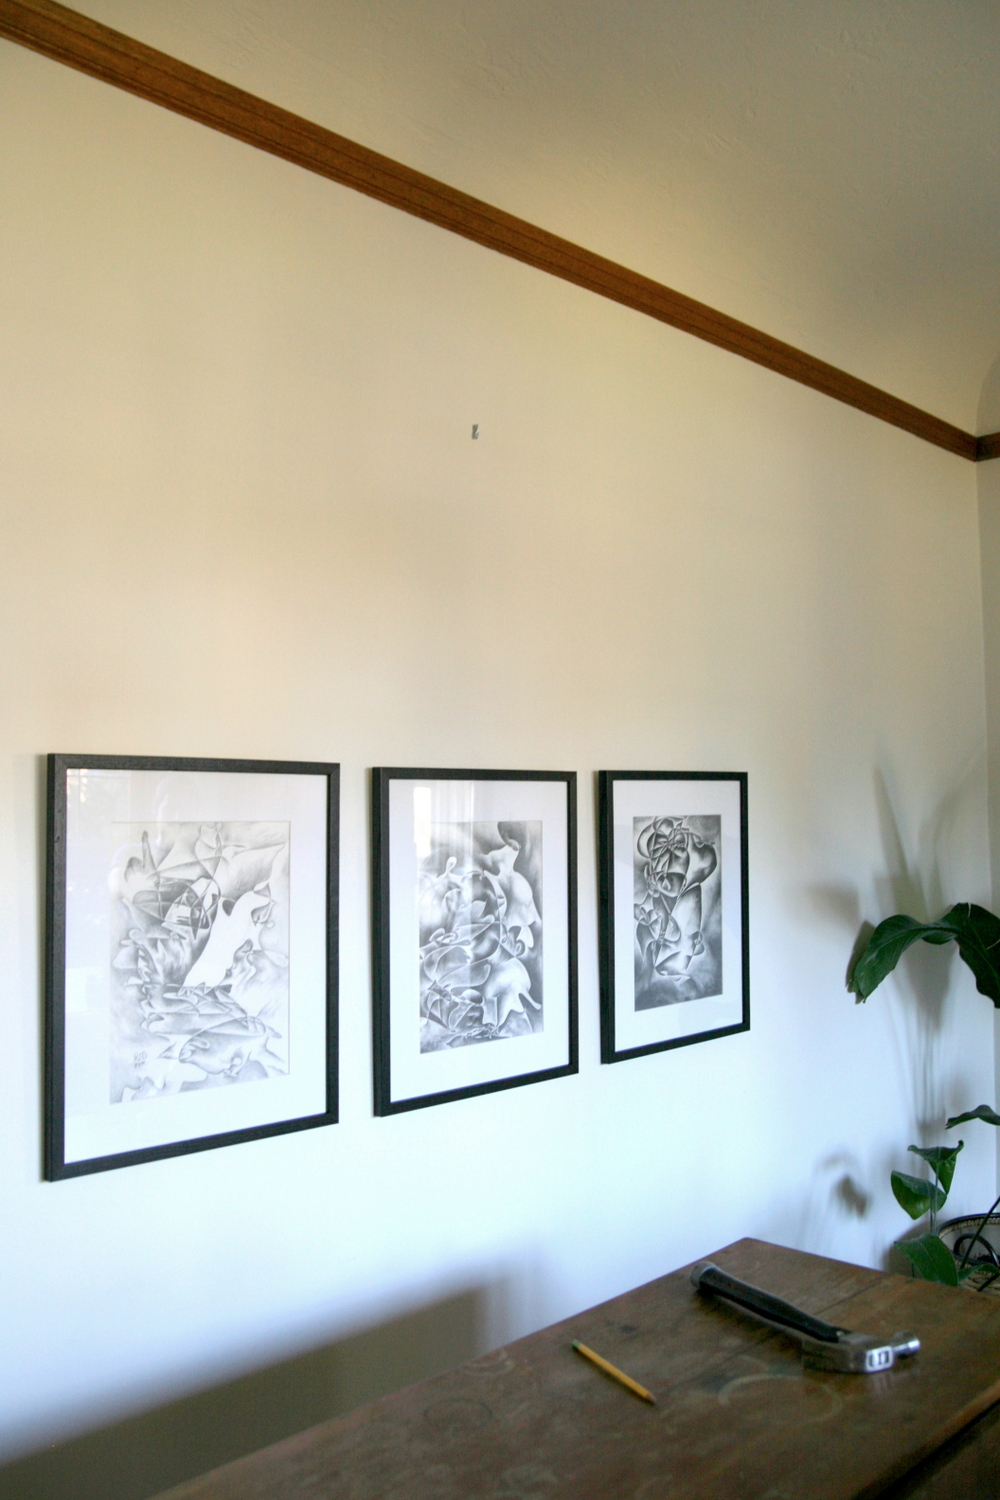
We have six original shaded pencil drawings done by Jason's grandpa, who is over 90 and has been an artist forever and was an art teacher. He did one of them for us when Otto was born! We had two in frames, but the rest unframed. I wanted to use them all in one place, so I ordered some custom frames to fit them perfectly.
They're 11"x14" drawings so they are standard and you can easily buy frames for them (like these readymade ones)--but I wanted extra wide mats for extra drama. I ordered their black oak ones as custom frames, with 2.5" all around.
Before you order your art, consider the size and orientation of the space. I had a long wall with picture molding several inches below the ceiling, so I wanted the gallery grid to form a wide rectangle. If you have a narrower wall and higher ceiling, you could do 9 prints in a square, for example.
Once you have framed artwork (you can upload a photo to Art to Frames and they'll frame it for you, or you can order frames like I did and put the artwork in yourself), you're ready to hang.

How to hang a grid gallery wall
You will need:
- 2+ matching picture frames with matching mats (I used this one from Art to Frames with custom framing and custom mats)
- Hanging hardware if your frames don't come with it (ArttoFrames ones do, and you can choose Wire, nails, and hooks; Saw tooth hanger; Easel back; or Easy To Hang--I used wire, nails, and hooks and recommend it for some flexibility in getting everything exactly level)
- A long level (like this 24" long one)
- Power drill
- Hammer
- Tape measure
- Pencil
Instructions:
1. Install the wire. Measure 1/3 of the way down on each side of the frame (I rounded down and did a little less than that). Screw in the brackets.


You want the wire on each of the frames to hang at the same height. Measure the center of your frame, and then the same distance down it (I did 2.5").


Loop your wire around itself on both sides, testing with tension so that the wire hangs to the point you just marked.

2. Measure to the center of your wall with your tape measure. If you have an even number of columns of frames, you'll measure horizontally of the center point. If you have an odd number like me (3 columns, 2 rows), you'll measure the center of the center frames.
Determine the height of the top and bottom frames. (Hanging art too high is a common decor mistake--aim for the center of the gallery rows to be at eye level.)
3. Measure level off your center point to the upper and lower rows, and then the columns on either side. A long level is SO helpful for this as it is your measuring device (up to 24" in this case) and your level.

We spaced each frame 3" apart, and as each frame is 20" I measured 23" between nails horizontally.
You can check each row or column for level-ness as you hang. You may notice the far right frame is slightly higher--that can be fixed by loosening the wire! This is why I recommend the wire, nails, and hooks system for a gallery wall (instead of the "Easy To Hang" method from ArttoFrames which we used on the large piece in our bedroom and LOVED).
You can level-measure the distances from side to side and top to bottom to check your work before nailing in the hooks.

I also swapped some pieces around based on how saturated the pencil shading/shapes were, just for visual balance.
Done!!!!


As you can see we still need light bulbs for our new chandelier, and I'm really hoping for some furniture under the art. But this big statement wall of art is huge progress and I'm loving our dining room update so far!

Shop the other pieces in our dining room here.

No comments
Post a Comment