I did a closet project last year--I repaired the walls and reconfigured things in a medium-sized somewhat funky hall closet that I used as mine. That worked great but it was down the hall from our room... we recently switched things around and now I get the closet and dresser in the bedroom. It was built similarly and apparently 1937 closets often need some of the same updates. I recently made this closet way more functional, too!
This was a simple project that I mostly did right after the kids went to bed over a few days. Check it out!
Old house closet update
Here's my clothing storage corner of the room. Dresser (we bought two of these when we did this bedroom update years ago), jewelry storage, and a long but pretty narrow closet.
Here's the closet "before." A very deep shelf above the closet rod, with extra space behind the closet rod (same as both rods in the hall closet). No shelves for shoes. Cedar paneling on the wall, no longer fragrant (though I probably could have sanded it), strangely inset into the plaster. Maybe it was a repair? Maybe it's original. I'm sure people had a lot more wool clothing needing moth repellant in 1937.
I added those hooks a couple years ago.
The shelf was made up of two separate wood shelves, just sitting on the wood piece that extends from the wall. Why two? I don't know. I moved one to shoe height and installed some pieces of wood underneath to hold it up. I also primed and painted over the cedar. Sorry if that bothers you cause it was sort of a cool feature.
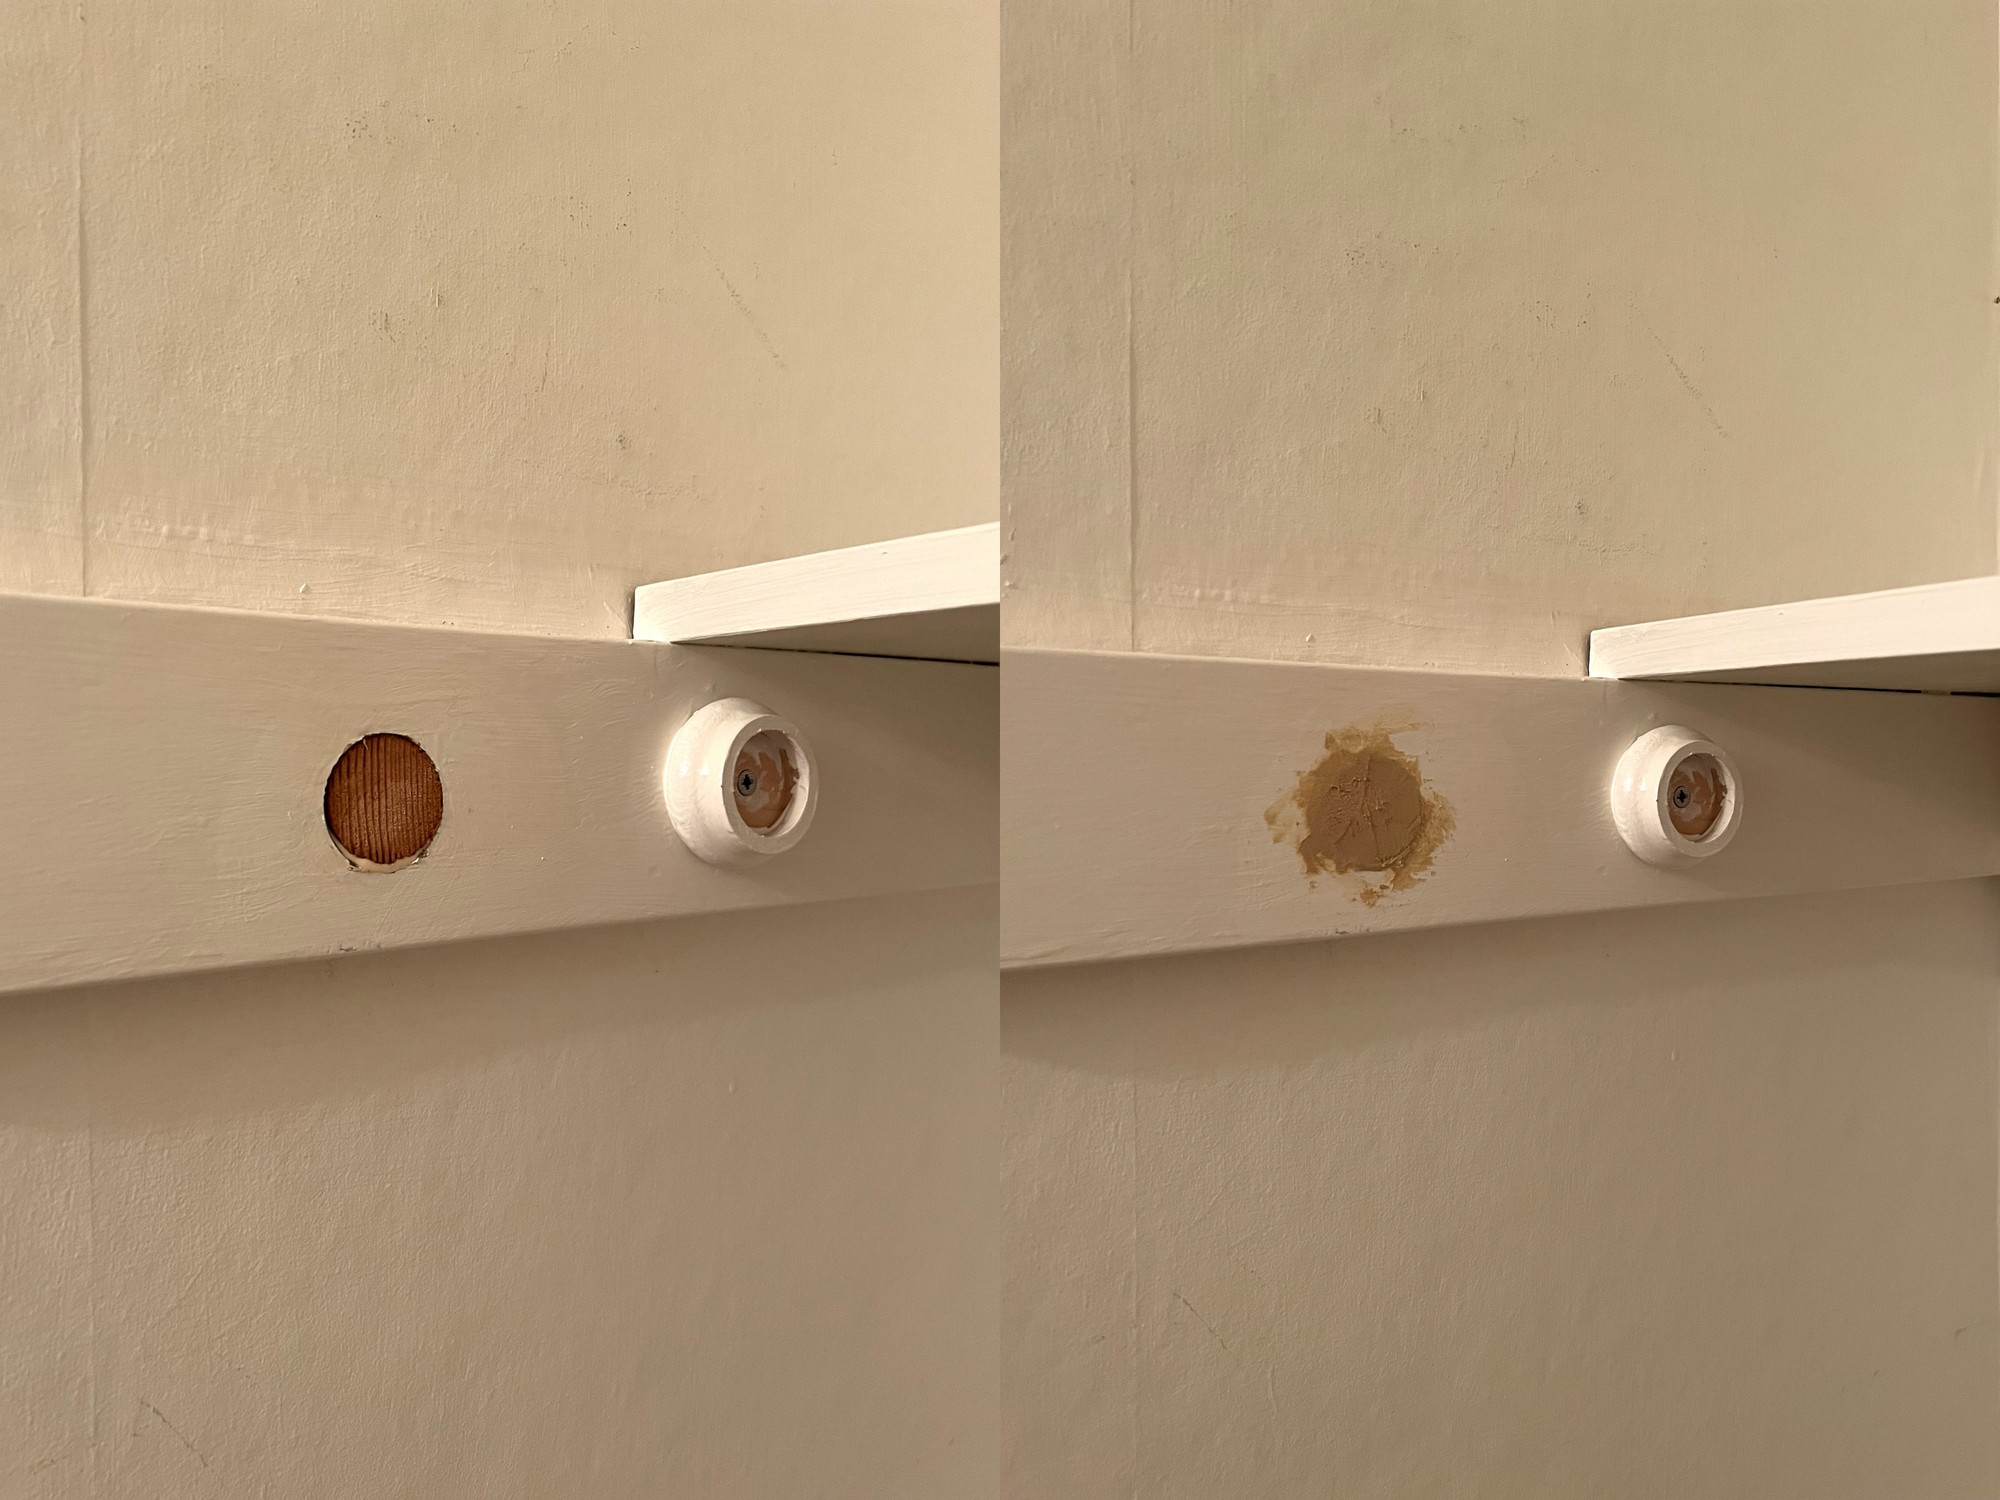
I moved the closet rod back about 6" to be at a more logical place for hanger width and the new shallower shelf. I cut the rod off in place with a hacksaw, then re-cut for smoother edges, and plugged the hole with the old closet rod ends. I glued them in and let dry, then added wood filler which I sanded and painted. I installed the same rod again but with wooden brackets (therefore slightly shorter rod). This is the same thing I did in
this closet, worked great!
I also color-ordered my sweaters ;)
Here it is! Super simple, way more functional.
Unfortunately there's not really room on the rod for my 1-2' worth of dresses, and they would hit the shoes anyway, so they're still in the hall closet, along with a couple pairs of winter boots. Ah, the sacrifices we make living in old houses. Not that big of a problem!
I'm really enjoying having my clothes, jewelry, etc. so convenient in my room (means I can easily pick out my outfit for the next day after the kids are asleep without making noise in the hall outside Otto's room, too!).
After doing this shuffle I realize I really don't have that many clothes (or shoes, or bags). I get rid of the old ones frequently when I buy something new and am pretty proud of myself for that. I do really need some new work shoes, though. I am picky.
.jpg)
Highly recommend this simple, basically $0 (since I already had all the tools and touchup paint) type of project!


.jpg)

.jpg)
.jpg)
.jpg)
No comments
Post a Comment