

Exterior cleanup and "landscaping" at the Stanley 90's Reno
So, with a little over $100 of materials and really not that many hours of work, we've got it looking MUCH better and we're almost proud of it and want to be out in it!

Let's start in the backyard. Here's the back fence "before." I guess someone was repairing it with that horizontal board?? That drove me crazy. And, of course, the moss and eroding fence boards!


We borrowed a power washer and found a bunch of similar fence boards for free on NextDoor, so we took off the broken boards, patched, and power-washed the fence till it looks almost presentable.


But first the front. We used this side of the house as a holding zone for old drywall, boards, even the upper cabinets we pulled out of the kitchen, for months because we were too overwhelmed inside to deal with it. Before we had it painted we ordered another dumpster drop box in front of the house and loaded it up with that stuff and the mess from the "garden" on the opposite side.

Then it was just dead grass, and thin bark chips and weeds under the tree out front. And we didn't really have a place to put our trash cans so we usually just rolled them onto the dirt.

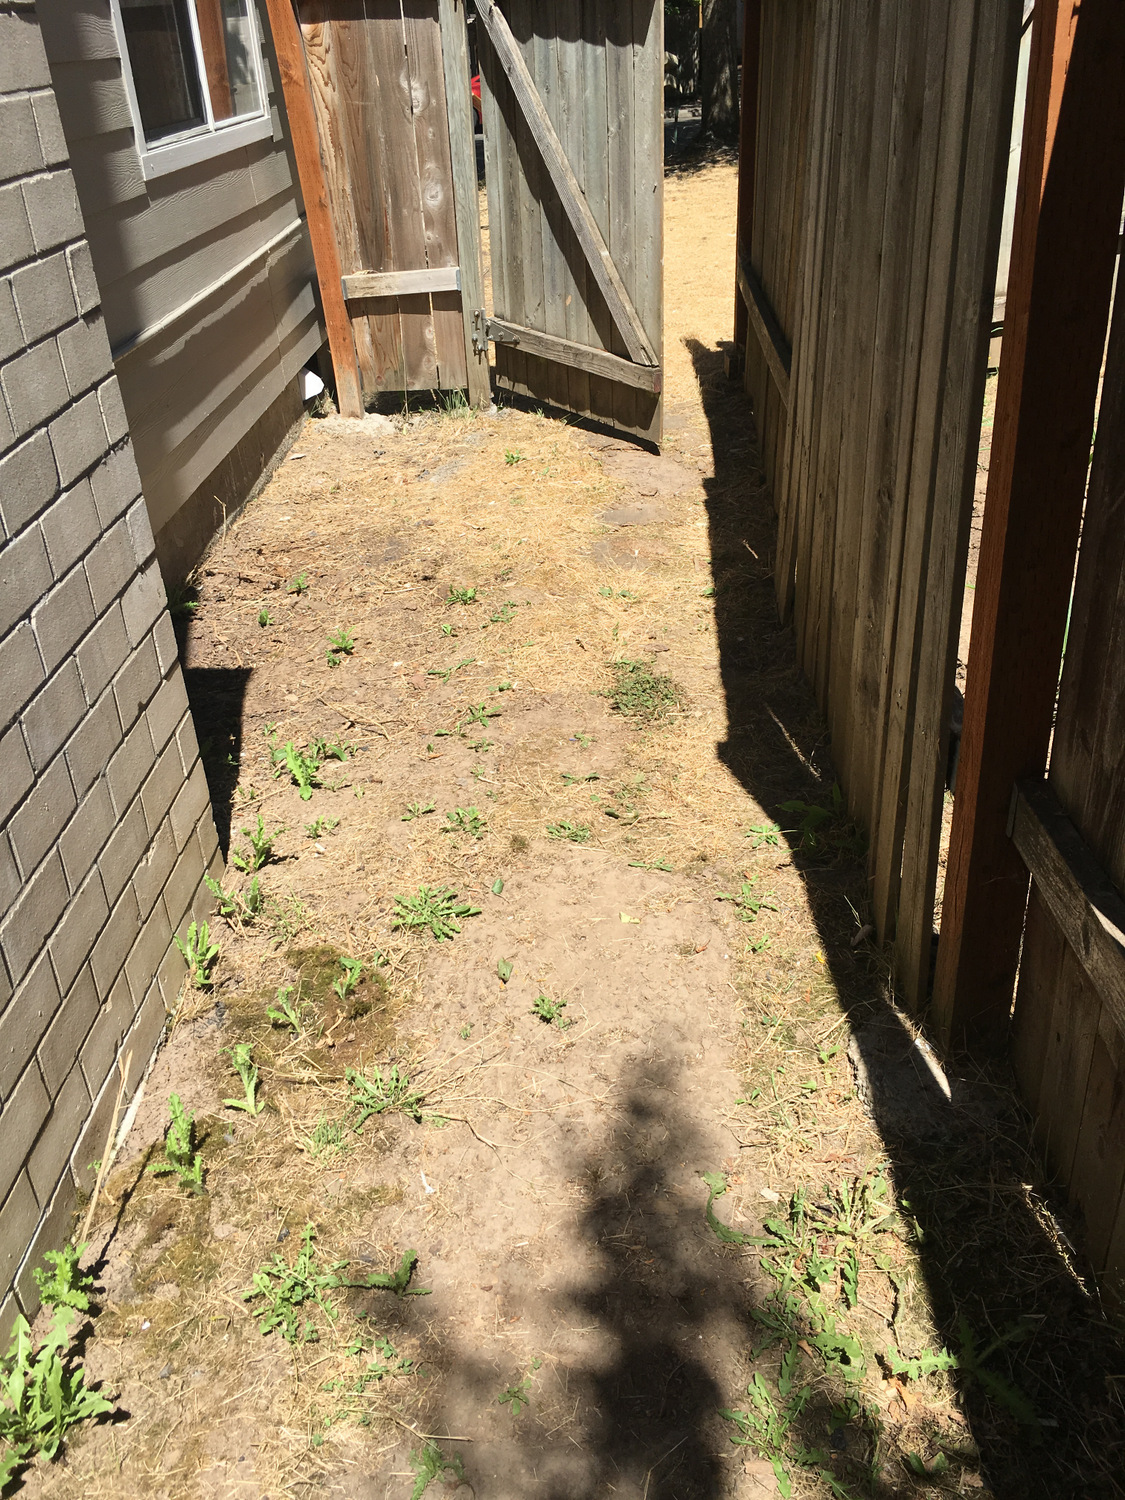
Oh, and through that gate, we had ancient plywood that someone had laid down (to create a path and stop weeds, maybe??), just crumbling and looking awful.

The solution?? We got 3 yards of bark mulch from a local place ($33 per cubic yard) and spread it out to the property line.

We got about 25 stepping stones from the big box store ($1.09 each, I think) and laid them in a path going all the way back to the backyard.

We had scrappy grass and a very awkward mowing situation around the tree in the front of the house, too, so we got another yard of bark mulch for that area and spread it. And we trimmed those shrubs. Big improvement!

We kept the bark mulch going about 3' out from the fence in the back yard, too, all the way around three sides. (The grass on the west side is actually nice enough cause there are no trees over it, so we just have grass meeting fence on that side.)

You'll also see some baby grass in this picture. This area is pretty shady so it'll never be great for grass, but we knew it could be better than the muddy, mossy mess. We can't rototill in this area cause the cherry tree's roots are so shallow, but we used a rake to chop up the dirt and spread shade-loving grass seed and peat moss. We've been watering religiously and look, grass is growing!! A few weeds, too, but we'll remove those.

This is SUCH a big improvement from how the yard has looked the past 11 months. We're planning to enjoy it grilling and eating outside a few more weeks before the leaves start to fall! And, the two corner trees are Asian pear trees, we'll be rich in those in just a couple weeks!
No comments
Post a Comment