

Sewing Circle: How to make a twisted hem (and learn from mistakes)
I take your questions by email and respond as best I can, and you all fill in the rest! This time, Bethany asked...
Q: I've been trying to create a "twisted hem" and I cannot for the life of me figure it out and it's driving me NUTS! I attached some pictures so you can get an idea of what I'm talking about. It's something I've seen mostly on the hemlines, it looks like the fabric has been shifted so that it creates a textured, layered look. It's hard to describe. I think it'd be a pretty touch to a dress or a skirt, or maybe on the hem of a sleeve or the facing of a neckline.
I tried to re-create the look but I just can't get it! If you have any ideas, I'd love to hear them!


I used my mom's advice as well as a related tutorial on a twisted neck band for a t-shirt here. I tried it out on the hem of a simple paper bag skirt that I made out of an old comforter cover (I made a dress out of it, too, and blogged about it here, but had plenty of extra left over!). You can add the twisted hem detail to just about anything, but it does look cute on these gathered top/paper bag skirts in the photos Bethany sent me. If you want to do something similar, here's a paper bag skirt tutorial at BurdaStyle. I thought there were tons out there but when I went looking for them, this was all I found, and a video from ThreadBanger. Maybe I should have done a tute for this skirt, too... anyone interested in a how-to for the paper bag skirt? Maybe I could post one soon. Let me know!
So I'll start the tutorial with the skirt already assembled. Here we go:

- Make sure you have enough fabric to cut some bias strips of at least twice plus 1" the desired width of your twisted hem. I wanted mine about 1 1/2" wide, so I cut 4" wide bias. I recommend cutting yours even wider; it might look better that way (now that I've done it I know!).
- We're going to add a bias strip at the bottom of the skirt, which we'll sort of offset and pull back onto itself to get the twisted look. So, assemble your bias strips--enough to go around the bottom of your skirt.


- Snip, draw on, or otherwise mark (pins wouldn't work well, but any other marker) every 2" or so on one side of the bias. I used approximately 1/4" deep snips. We're basically going to offset the strip by 1", but you could do less--don't do more than 1". So, cut every 2" on one side, and cut every 2" on the other side, starting 1" from where you began on the bottom. See, I'm cutting at 0", 2", 4", and so on on the bottom and 1", 3", 5", etc. on the top of my bias.


- Press under 1/2" on your bias strip on one side only before you sew it on.

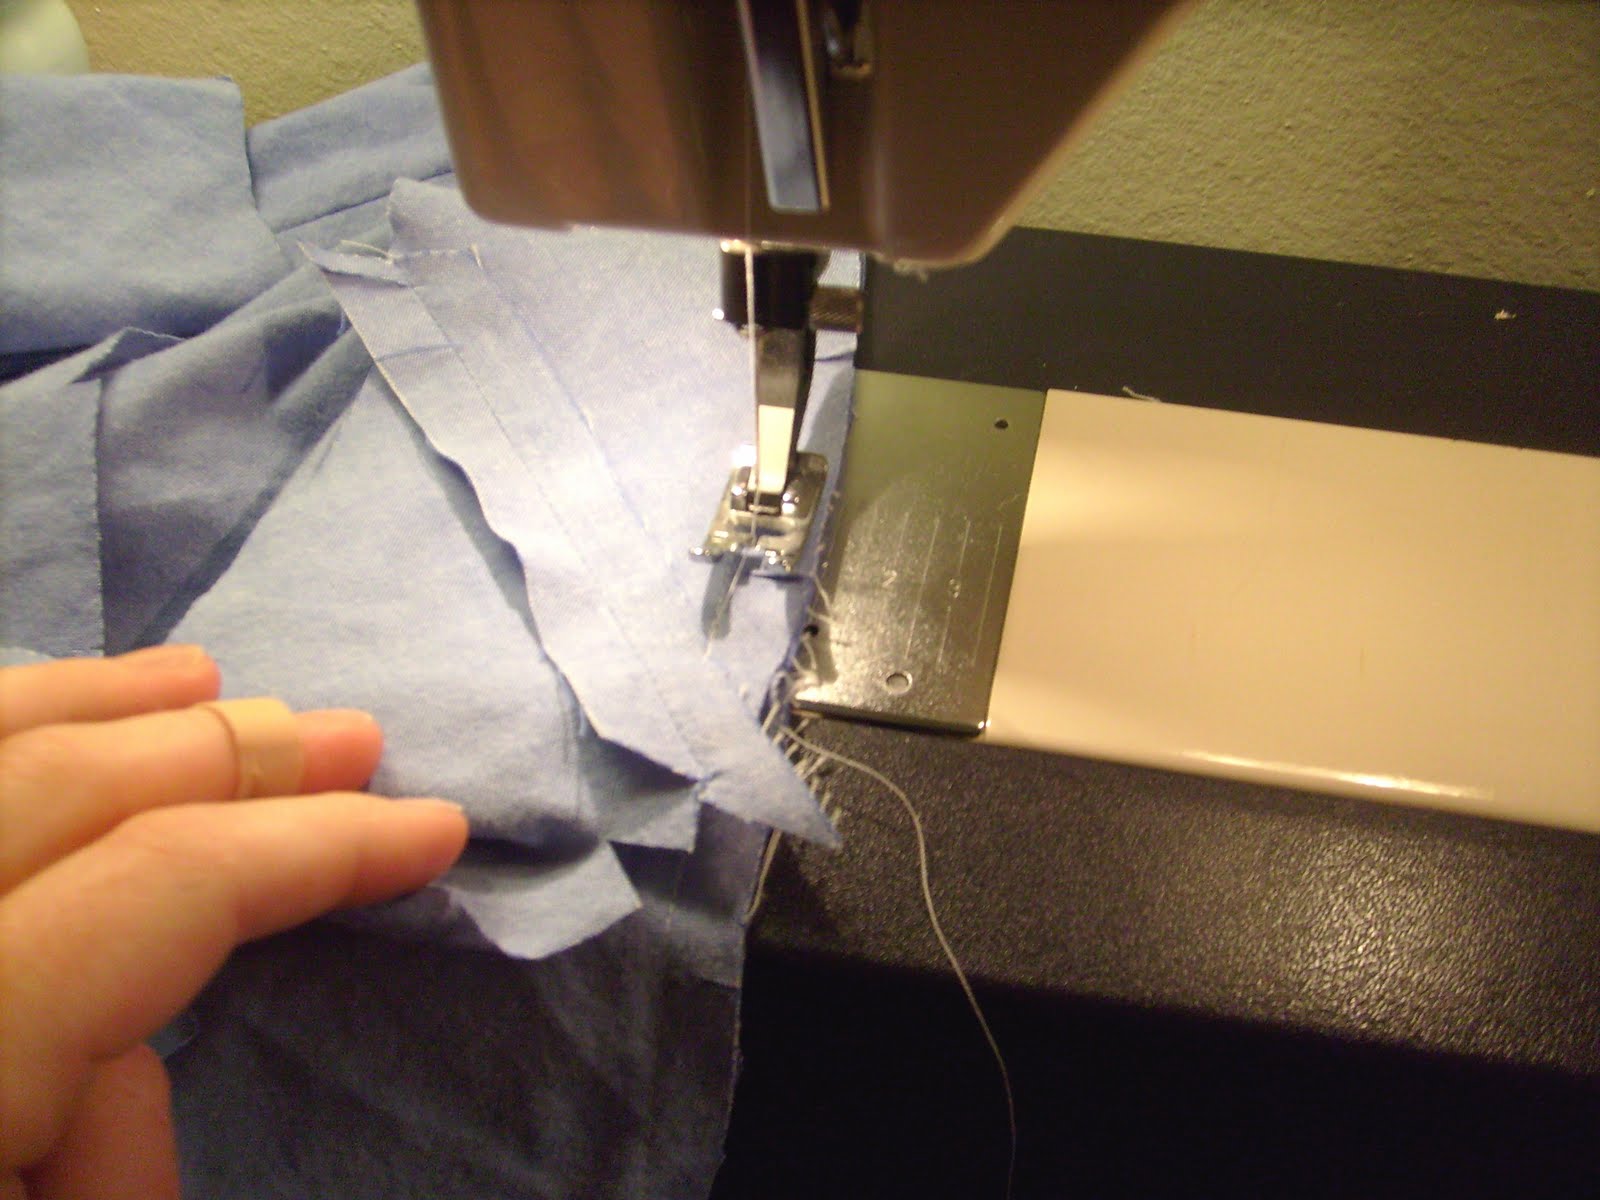
- Sew your skirt and bias strips together, right sides together, on the side without the 1/2" turn-under.
- I always stop just shy of the end when I get all the way around, cut my thread, and sew the two ends together parallel, then press that seam open and sew back over to finish the band. You can also measure the circumference of your skirt at the bottom and create basically a tube of bias exactly that size if you want only bias seams on the band.


- Press the seam allowance toward the bias band.

- Here's the hard part. It can be very time-consuming and annoying! But trust me, it is possible--this is like, the ultimate manipulation of fabric. I'm exaggerating, but it feels true in the moment. ;). Pin the 1/2" turned-under side of the bias band to the skirt band, matching the notches. That's right--you'll match notch to notch, but it's actually 1" off, so it'll pull and fight you and look terrible for a while. Once you get three or four of them pinned, it's not so bad. I pulled out my fabric marker to mark the top sides of the bias band, since the 1/4" deep snips won't show during this part unless you open up the bias band. Try to offset the bias band about 1/8" from the seam that holds the bottom of the skirt and the top of the bias band together.

- Now, try to "stitch in the ditch" to attach the twisted bias band to the hem of the skirt. This is why you need to offset up to 1/8", so you can sew just over your original seam and catch the bottom of the twisted bias.

- Press your skirt and twisted bias band flat. Hopefully it lays pretty much flat!


- Offsetting 1" may have been too extreme. I'd like to see what it looks like with only 1/2", and if that's not drastic enough, maybe 3/4".
- I would like to try again using a more appropriate fabric. The lightweight cotton chambray from my recycled comforter cover is more of a shirting weight, and isn't really appropriate for a skirt unless it's a looser, gathered style. The lightweight nature of the fabric also had a hard time supporting the awkward twisted bias band. If you must use a lightweight fabric, I recommend interfacing the bottom few inches of the skirt--fusible interfacing, tacked down with hand-stitching, maybe?
- I wish my bias band had been wider! It would show off the twisted feature more if it were a larger part of the skirt. I'll try 5" next time. This time I underestimated how much the twisting would take away from the width of the finished band.
- I would like to try it without folding the bias band under 1/2" first--it won't ravel anyway since it's on the bias, and it may have added to the comparative bulk of the twisted band to the thin skirt.
Thanks for chiming in and thanks for reading Sewing Circle!
Wow! That looks great! I was looking for a different detail to put on a skirt I want to make and this is perfect. Thank you so much Suzannah!
ReplyDeletePS: I'd love a how-to for the paper bag skirt :)
ReplyDeleteGreat tutorial - thank you for sharing this with us :) !
ReplyDeletePlease do the paper bag skirt how tutorial!!! That would be wonderful. This is very helpful - thanks again! You blog is such a great resource.
ReplyDeleteExcellent! I've never even heard of a twisted hem before this post, but now I'm intrigued. I'll have to go off and try to make my own.
ReplyDeleteI love the twisted hem and would love to see a paper bag skirt tutorial :)
ReplyDeleteWow! Suzannah, thank you so much for taking the time to look at this technique! I am so amazed you were able to figure this out and it honestly made my day to see this blog post about it. I think it looks fabulous and I can't wait to try it out. It's something to spice up a plain skirt. Also - the paper bag skirt tutorial would be FABULOUS (geez, talk about having my cake and eating it too!) I couldn't find a tutorial on the paper bag skirt and tried it anyhow - FAILURE. Thanks again for a great post, you continue to be one of my top favorite blogs to read. :)
ReplyDeleteI think what you did was a pretty awesome result...just a few tips to help out with construction! 1- Yes, interface the bottom 3 inches of the skirt with muslin..yes muslin. Sounds weird, but I swear it will work, pin it in with the skirt bottom so that it acts like one with the skirt, and hand tack the top of the muslin piece. Fusible interfacing can sometimes have a too hard of a look to it. 2- during the next 2 steps, do not iron ANYTHING, use only finger pressing to do the next two steps. The material will not stretch so much. 3-Cut the bias at least 6" wide. Sew a row of stitching 1/4" from the edge of the bias, and make smaller clips, and do not cut through the row of stitching. SEw the other edge of the bias to the skirt useing a 3/8" seam, then edgestitch the SA to the skirt, the bias will turn easier. 4- Using the row of stitching to easily turn under the edge of the bias, and mark where the clips are with a pin, then use the pins to pin in place, matching the clips, and sew with just a little longer stitch, it should be easier to sew. Very cool technique. I think a similar less wrapped look might be had if when turning up the hem of a skirt, just start "off pinning the hem" by up to 1", and hem.
ReplyDeleteDitto to the others...PLEASE do a tutorial for that adorable skirt! I looked at the Burda tute you linked but I like the style of yours much better. Pretty pretty please! =)
ReplyDeleteGREAT TUTORIAL !! Thank you.
ReplyDeleteThis is exactly the tutorial that our readers will love. do link it up at our blog, so more people can find you.
Every week (Wednesday) we open a new party.
The current one is here:
http://www.finecraftguild.com/diy-tutorial-linky-party-3/
Thanks so much for the comments!
ReplyDeleteI will put a paper bag skirt tutorial on my list of things to do, so stay tuned! =D
Found you on one pretty thing. I'd consider myself a professional level sewist but, boy, there's always something new to learn. While I don't care for the paper bag skirt, I think this idea would look awesome as armbands or on a neckline - you could also get creative and do it in a contrasting fabric to really add some panache. Thanks for the tutorial!
ReplyDeleteJenny from Wikstenmade has a pretty awesome tulip skirt pattern, with a tied-belt look similar to the one you have in this tutorial, but it ends up being a little better fitted. The pattern's in the Winter 2008 issue of "Stitch" magazine.
ReplyDelete