4.29.2014
My first ever, a totally new project - art-inspired crop top and easy conversion tutorial!
Getting a little bold and crazy with this one! This tutorial (actually, there are two tutorials in this post!) is totally personalizable so if you've been slightly interested in the crop top trend but not sure how to try it, I can help!!
Yes, I said crop top. The term definitely still has a not-so-great connotation for me (80's workout tapes? Early Britney Spears?) but it's coming back with class and I'm always up for a challenge, so figured making my own was a great low-risk way to try! (An alternate name for this post: Crop tops: fun 2013/2014 trend, or: How to Confuse Your Husband with Your Sewing Project. I'll tell you why.)
This post includes a tutorial on 1) how to make your own crop top from almost any dress pattern, and 2) how to make a nice quality neck facing for said crop top. (Like my peplum top-from-any-dress-pattern post, they're easy and work for almost any pattern!) This project was super simple and took me about 45 minutes of sewing time, seriously!!, and not too long cutting time. Follow along for some great pics of the cutting process, and a look inside how a neck facing works!
This project is inspired by a couple of things, really. I was flipping through my InStyle the other weekend and saw this piece, "You Can Do: Art-Inspired"--one fashion director's take on bold, watercolor and paint printed clothes and accessories for spring.
.jpg)
They even recommended Spoonflower for finding a super cool, unique pattern! Spoonflower is pretty dang cool. (See red circle below:)
.jpg)
.jpg)
Something about the rest of the ideas I'd seen while flipping through, or maybe something about the edgy, trendy, bold art-inspired clothes, gave me the idea for a crop top. I had some super cool watercolor-ey sateen fabric from Spoonflower (they sent it to me as an option for a project in my book) that I hadn't used yet, hadn't had a flash of inspiration for dress-wise, and I had been thinking about trying a crop top of a bright floral or something. But the two just clicked! Bright print + crop top!!
But which pattern to use? A tummy-baring top is daring enough, so I thought a simple line would be plenty dramatic. Crop tops have been around a lot this year and last--even the big pattern companies are starting to catch on (Simplicity 1371, see?), but I didn't want anything this complex.

Something simple, like this...
Or this...
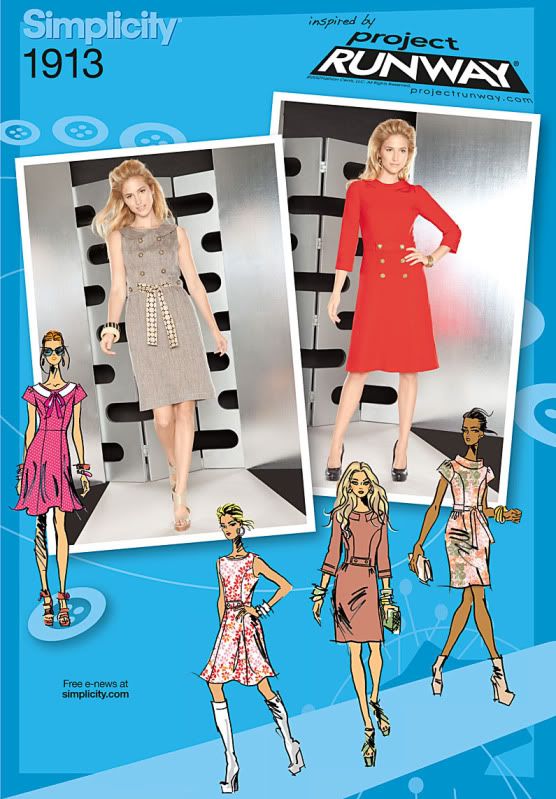
Those are super simple, classic, fit-n-flare type crew-neck tailored pattern shapes, just like my favorite versatile dress patterns (Simplicity 1873, Simplicity 1913, and Simplicity 2444).
So here goes. A super simple tutorial for how to make a cute, fitted crop top out of a basic darted bodice dress pattern! (I used Simplicity 1873.)

Depending on the length you want your crop top, you may want to shorten the pattern piece a little. If you use a basic fit-n-flare darted bodice pattern, it probably has a natural waist, so if you cut it off at the bottom but give it a 1.5" hem instead of attaching a skirt with a 5/8" seam allowance, it will hit 7/8" above your waist. That's a pretty good place for it to stop, but if you want to go a little shorter, here's how.
Using the lengthen/shorten line as a guide, since it is straight across the bodice and will match on both front and back pieces...

Fold the pattern piece up 1/2" or 1", making the fold parallel to the lengthen/shorten line.


The second tutorial for this top is how to make a neck facing for your simple cropped bodice, because you're not using a lining like your pattern may call for. Whenever I make my favorite dress patterns into dress bodices, I use a full lining for the bodice, and so I don't need a facing. But facings are great for unlined items like tailored or summery dresses, or this simple lightweight top!
To cut out your facing, use the bodice pattern pieces you've already cut as a pattern for the shape, laying the approximate size facing pieces on top. In this pic I'm cutting out the left and right back neck facing pieces.
Measure using a hem gauge and draft a piece approximately 2-3" wide from the neck edge of the main bodice piece.


Cut matching pieces of fusible interfacing, using your facing as a pattern.

Iron the fabric and interfacing pieces together.


And there you have it! The final result of the pattern modification tutorial and simple neck facing: an unlined, zipper-less, slightly boxy crop top!


6 comments
Yes, I said crop top. The term definitely still has a not-so-great connotation for me (80's workout tapes? Early Britney Spears?) but it's coming back with class and I'm always up for a challenge, so figured making my own was a great low-risk way to try! (An alternate name for this post: Crop tops: fun 2013/2014 trend, or: How to Confuse Your Husband with Your Sewing Project. I'll tell you why.)
This post includes a tutorial on 1) how to make your own crop top from almost any dress pattern, and 2) how to make a nice quality neck facing for said crop top. (Like my peplum top-from-any-dress-pattern post, they're easy and work for almost any pattern!) This project was super simple and took me about 45 minutes of sewing time, seriously!!, and not too long cutting time. Follow along for some great pics of the cutting process, and a look inside how a neck facing works!
Art-inspired looks
This project is inspired by a couple of things, really. I was flipping through my InStyle the other weekend and saw this piece, "You Can Do: Art-Inspired"--one fashion director's take on bold, watercolor and paint printed clothes and accessories for spring.
They even recommended Spoonflower for finding a super cool, unique pattern! Spoonflower is pretty dang cool. (See red circle below:)
Something about the rest of the ideas I'd seen while flipping through, or maybe something about the edgy, trendy, bold art-inspired clothes, gave me the idea for a crop top. I had some super cool watercolor-ey sateen fabric from Spoonflower (they sent it to me as an option for a project in my book) that I hadn't used yet, hadn't had a flash of inspiration for dress-wise, and I had been thinking about trying a crop top of a bright floral or something. But the two just clicked! Bright print + crop top!!
But which pattern to use? A tummy-baring top is daring enough, so I thought a simple line would be plenty dramatic. Crop tops have been around a lot this year and last--even the big pattern companies are starting to catch on (Simplicity 1371, see?), but I didn't want anything this complex.
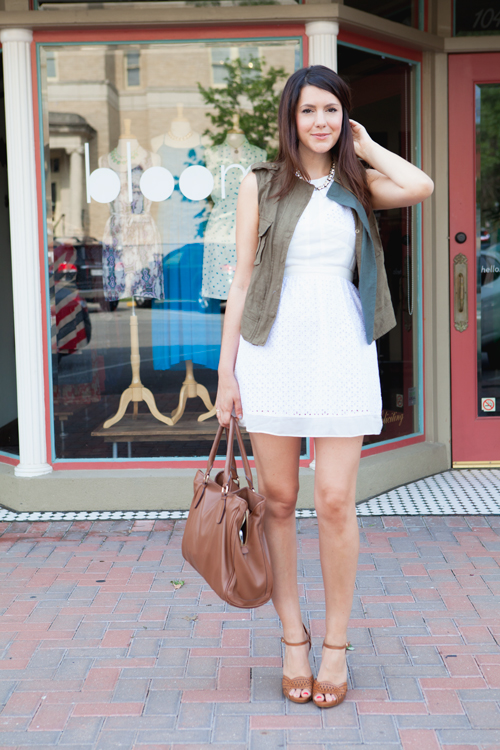
Something simple, like this...
 |
| Source |
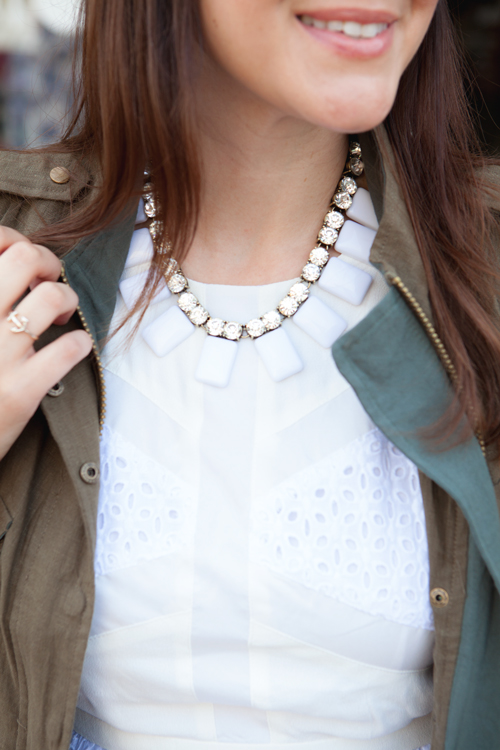
Or this...
 |
| Source |
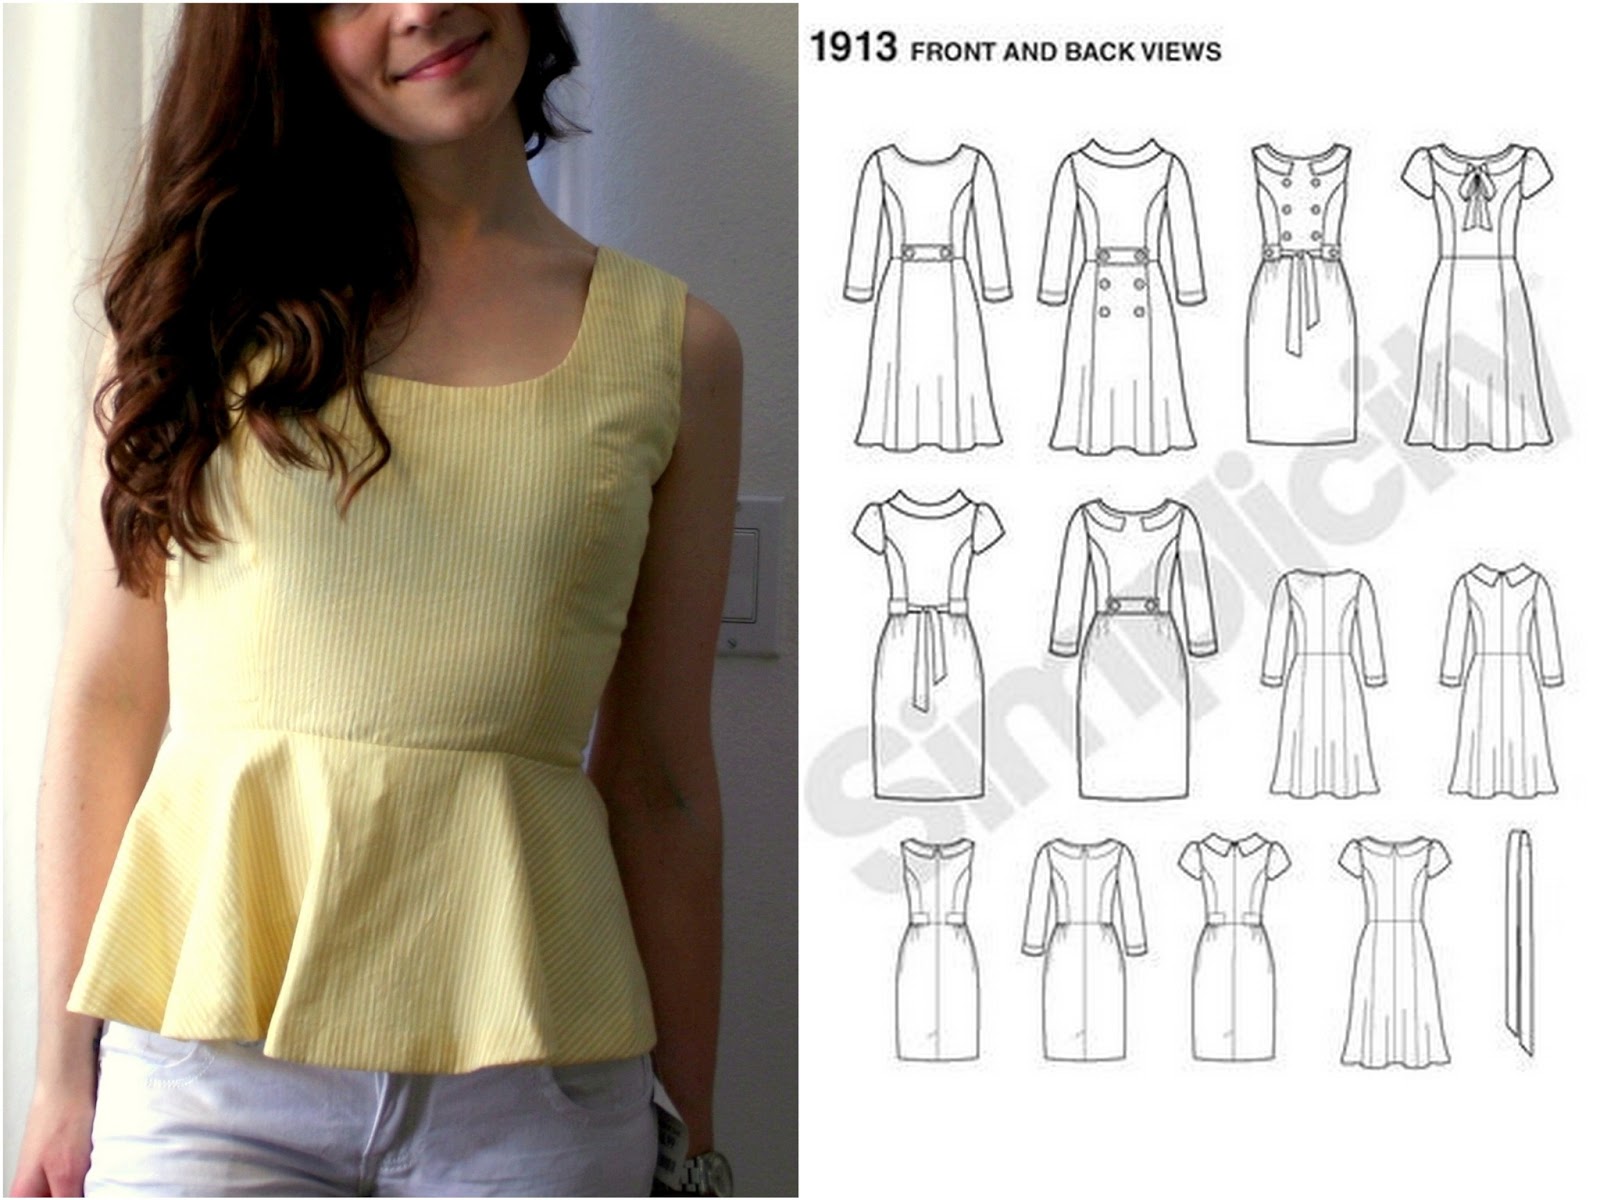
Those are super simple, classic, fit-n-flare type crew-neck tailored pattern shapes, just like my favorite versatile dress patterns (Simplicity 1873, Simplicity 1913, and Simplicity 2444).
How to make a crop top from a dress pattern!
So here goes. A super simple tutorial for how to make a cute, fitted crop top out of a basic darted bodice dress pattern! (I used Simplicity 1873.)
Depending on the length you want your crop top, you may want to shorten the pattern piece a little. If you use a basic fit-n-flare darted bodice pattern, it probably has a natural waist, so if you cut it off at the bottom but give it a 1.5" hem instead of attaching a skirt with a 5/8" seam allowance, it will hit 7/8" above your waist. That's a pretty good place for it to stop, but if you want to go a little shorter, here's how.
Using the lengthen/shorten line as a guide, since it is straight across the bodice and will match on both front and back pieces...
Fold the pattern piece up 1/2" or 1", making the fold parallel to the lengthen/shorten line.
Do this on both the front and back bodice pieces.
Cut out the bodice as usual, otherwise, except: do not mark the darts at the waist. (You can make a top that pulls over the head if it has enough wearing ease, if you don't sew the waist darts and leave it with a boxy line at the bottom edge.)
Cut sleeves. (I used the sleeves from Simplicity 2444.)
So simple, right?! This top doesn't have to be lined or have a zipper, if you cut it a little on the looser side/size, or if you use a stretchy fabric. No-zipper projects are so fast!!
You will need:
- 1 bodice front (up to 1" shorter than pattern)
- 1 bodice back (up to 1" shorter than pattern)
- 2 sleeves
- 1 front neck facing (fabric)
- 1 front neck facing (fusible interfacing)
- 2 back neck facing (fabric)
- 2 back neck facing (fusible interfacing)
And, how to make a neck facing:
The second tutorial for this top is how to make a neck facing for your simple cropped bodice, because you're not using a lining like your pattern may call for. Whenever I make my favorite dress patterns into dress bodices, I use a full lining for the bodice, and so I don't need a facing. But facings are great for unlined items like tailored or summery dresses, or this simple lightweight top!
To cut out your facing, use the bodice pattern pieces you've already cut as a pattern for the shape, laying the approximate size facing pieces on top. In this pic I'm cutting out the left and right back neck facing pieces.
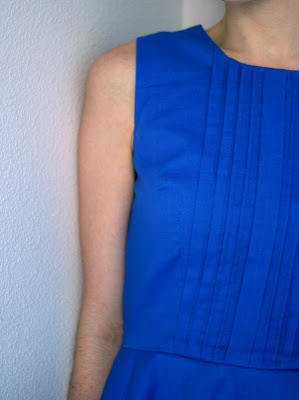
Measure using a hem gauge and draft a piece approximately 2-3" wide from the neck edge of the main bodice piece.
Cut matching pieces of fusible interfacing, using your facing as a pattern.
Iron the fabric and interfacing pieces together.
Sew them right sides together at the side seams (and center back seam, if you're going zipper-less like I did). To attach to the bodice, sew right sides together around the neck edge.
Snip the seam allowance, as you would with a lining and outer fabric at the neck edge, and understich as you would with a lining.
As you can see, I also pinked the edges of my facing, and sewed it through from the outside on the shoulder seams and center back seam to secure it. (Ideally you'd do this with invisible stitches by hand.)
Art-inspired, DIY crop top
And there you have it! The final result of the pattern modification tutorial and simple neck facing: an unlined, zipper-less, slightly boxy crop top!
Try it at home!!

.JPG)
.JPG)
.JPG)