

Green triangle Anthro pillow tutorial
I made a whole bunch of pillow fronts and backs from little scraps and lovely silk and upholstery and patterned pieces, and had so much fun! I showed you tutorials for all of them. Except this one... I never got around to explaining it all. (Sorry!!). Here are The Pillow Tutorials, and here's the next in the series!
Here we find ourselves again, inspired by these and other awesome Anthro pillows, out of most of our price ranges...


The tutorial!
- Pull out all your favorite old project scraps...

- Cut a base piece, 1" on each side bigger than your pillow to allow for 1/2" seam allowances on each side, including the side with the (invisible) zipper. This pillow was 14" x 18," I think, so I cut my base piece 15" x 19."

- Cut out the shapes you want for each side. I had some fun yellow linen that was already in scallop shapes--perfect for the right side of the pillow.

- I had some skinny stripes of vintage green linen that I cut into leaf-like fronds for the other side... Pin your first layer of decorative pieces in place.

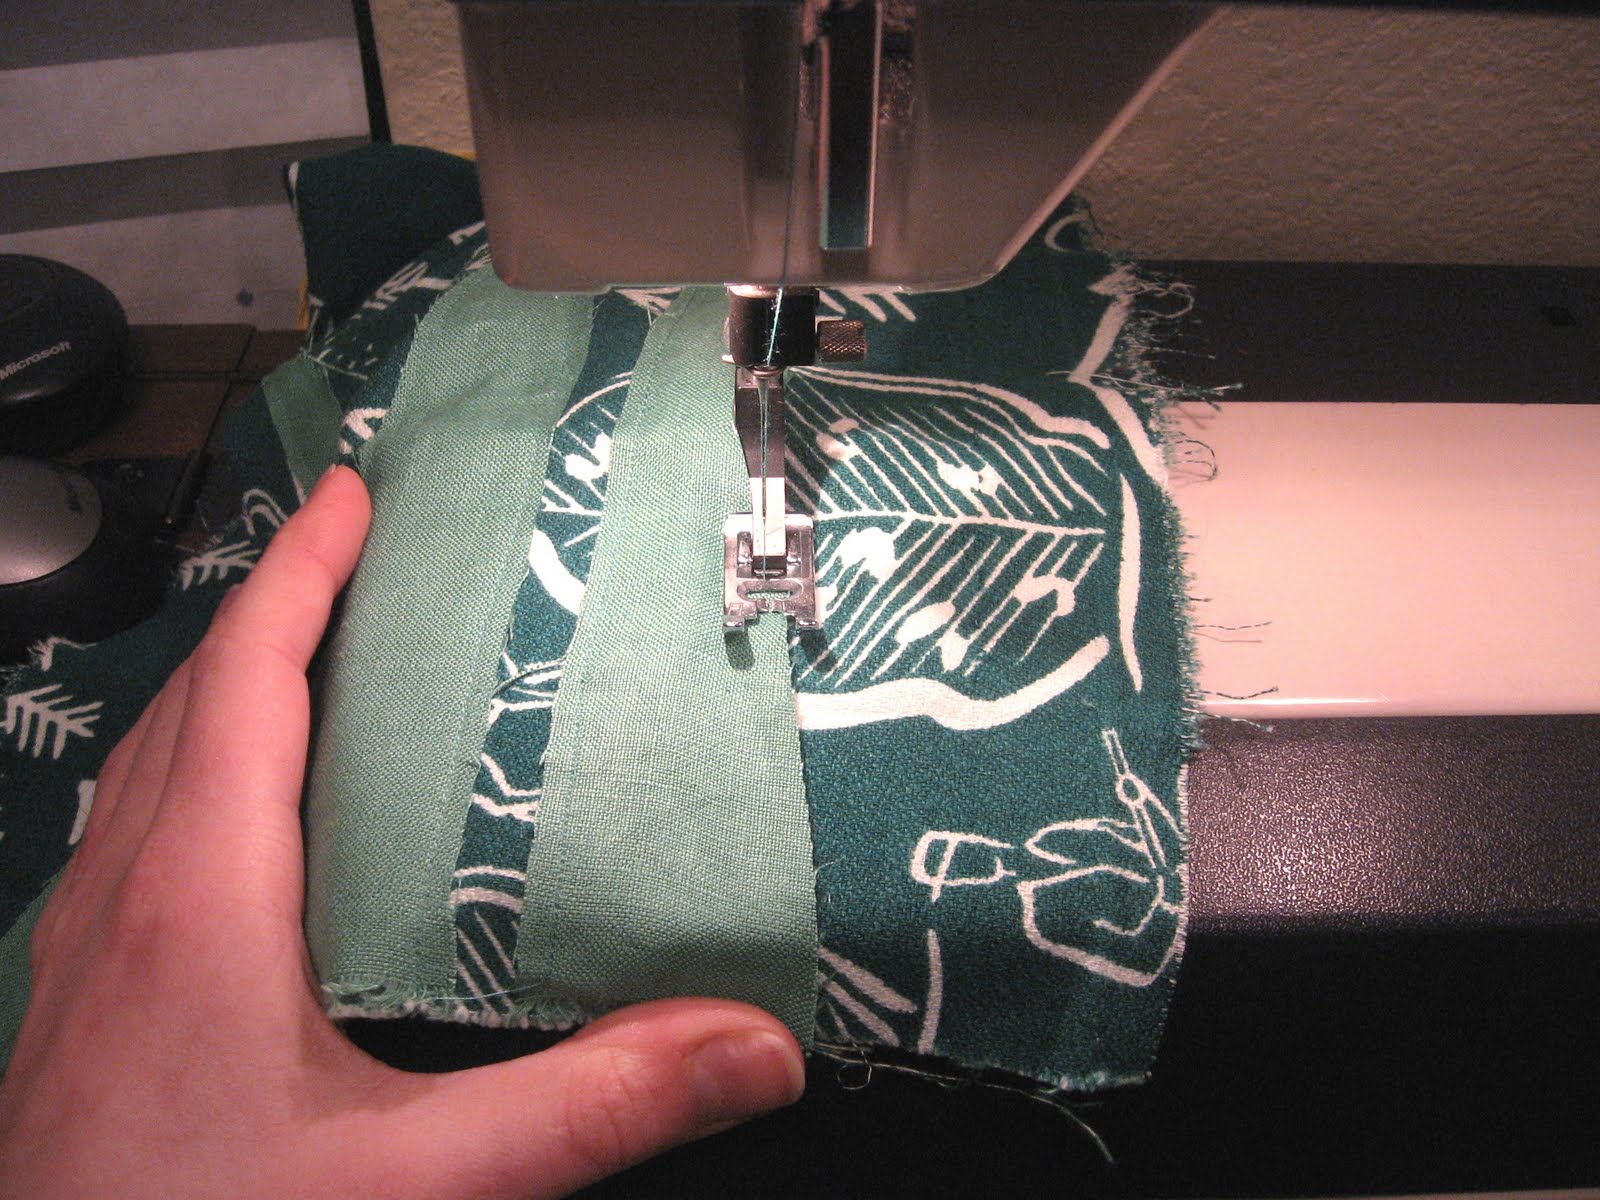
- Carefully sew them down--use a small stitch so that if the fabric does fray, it won't come out. I used a 1/4" seam allowance on these but you could do smaller, again, if you use small stitches.
- Add more fun layers! Play around!

- More pinning...
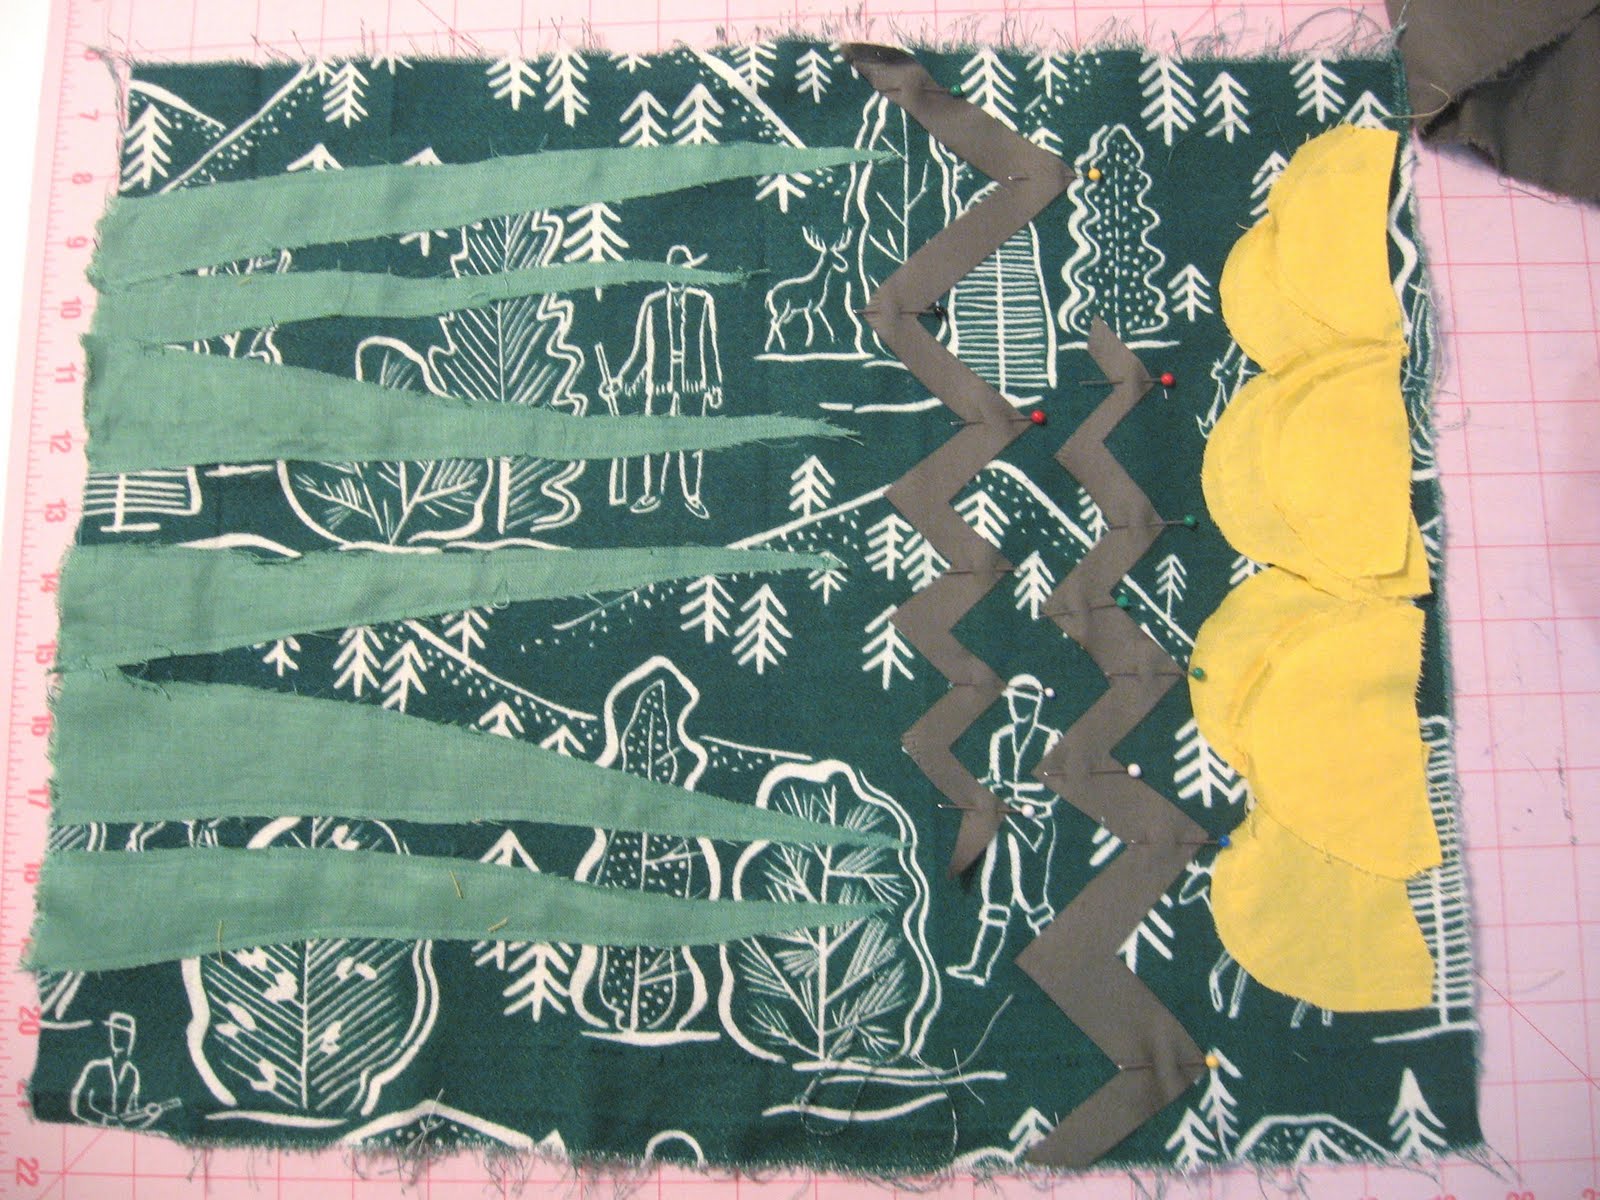
- Add a zigzag stitch to some of the pieces if you want!

- Insert your zipper between this piece and the other side of your pillow.

- Press.

- Now you'll sew the other three sides together. Pin them in place--unzip and fold the zipper back on itself so it gets included in the seam as if it were part of the fabric


- Sew the other three sides.

- Clip the corners.

- Do your best to press all three sides. It's hard in the corners!

- Flip right side out and enjoy!

No comments
Post a Comment