

How to paint wood paneling (spray and/or roll!)
We recently transformed a dark, dated small bonus room off our bedroom into a charming nursery. It had dark wood stained paneling and dark green linoleum on the floor (think 1950's elementary school). Now, it's fresh and pretty and has a storybook vibe. Oh, the power of paint!!! (and new flooring).
But it took a few extra steps to paint the wood paneling, and we tried multiple methods (sprayer, roller, and brush). Sharing what we did, and how you can paint wood paneling better, here!

How to paint wood paneling
You can see the true before pics in our before tour here.
You will need:
- Stain-blocking primer (we used Kilz Restoration)
- Paint
- Roller, roller tray, brush
- Paint sprayer (we used this airless one, but a smaller one like this might be better)
- Painter's tape and sheets of plastic
- Cardboard or shield if using two colors
Instructions:
1. Prep by removing nails, hinges, filling holes, repairing trim, removing baseboards, etc. Dust/clean if your paneling is dirty. We considered washing it down with TSP or sanding lightly, but this paneling didn't have much of a sheen and it took paint/primer well without it.

2. Prime. For this step, don't do what we did. We rolled everywhere with the typical contractor-grade flat paint/primer we use throughout our house (Sherwin Williams Promar 700) (and brushed in the grooves). This took a while, getting primer in all the grooves. One coat dried and we could tell there were areas that would show stain through it, even with multiple coats.

So, we researched and found Kilz Restoration, a stain-blocking primer with oil-based performance, but water cleanup. We rolled that everywhere, 2 coats. It did block the stain!

3. Paint. We sprayed the paint, after it took so long to roll and brush the primer. We taped off the doors and window first.
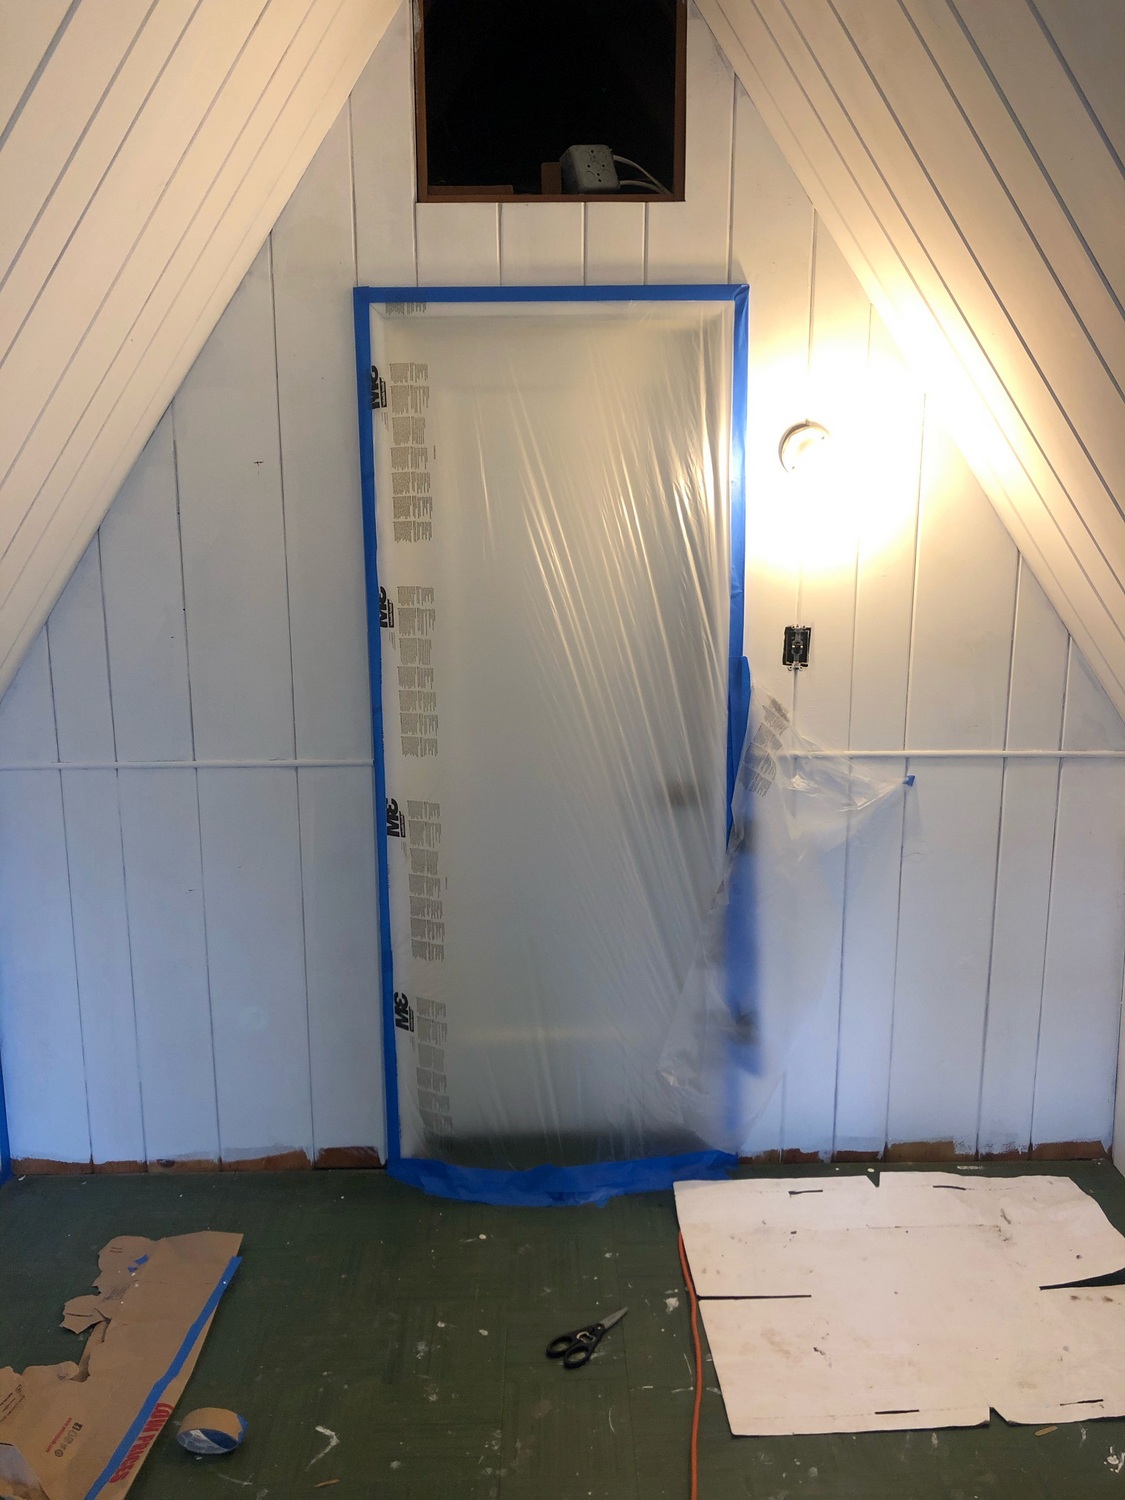
Here's another mistake we made... after doing the ceiling, we attempted to hold up cardboard shield and spray. It worked pretty well, but we didn't leave enough time in between spraying the ceiling and walls, so some of the white got smudged. There were also some areas of overspray we needed to touch up later.
If you're doing two colors, spraying can work, but we recommend waiting much longer--like, 2 days!--before touching the recently sprayed area.

It only took one coat of spraying each color. Spraying is great that way!
4. Touch up. Once it all dried, we touched up the edges.
5. Reinstall. After we laid the flooring, we re-installed the baseboards, which we'd painted on sawhorses outside.
Looking back, for a job this size, we think it probably would have been easier/worth it to use a handheld paint sprayer over a roller/brush or big paint sprayer like we used. But, it was nice to have a sprayer to get into all the grooves of the paneling.
Here it is currently...


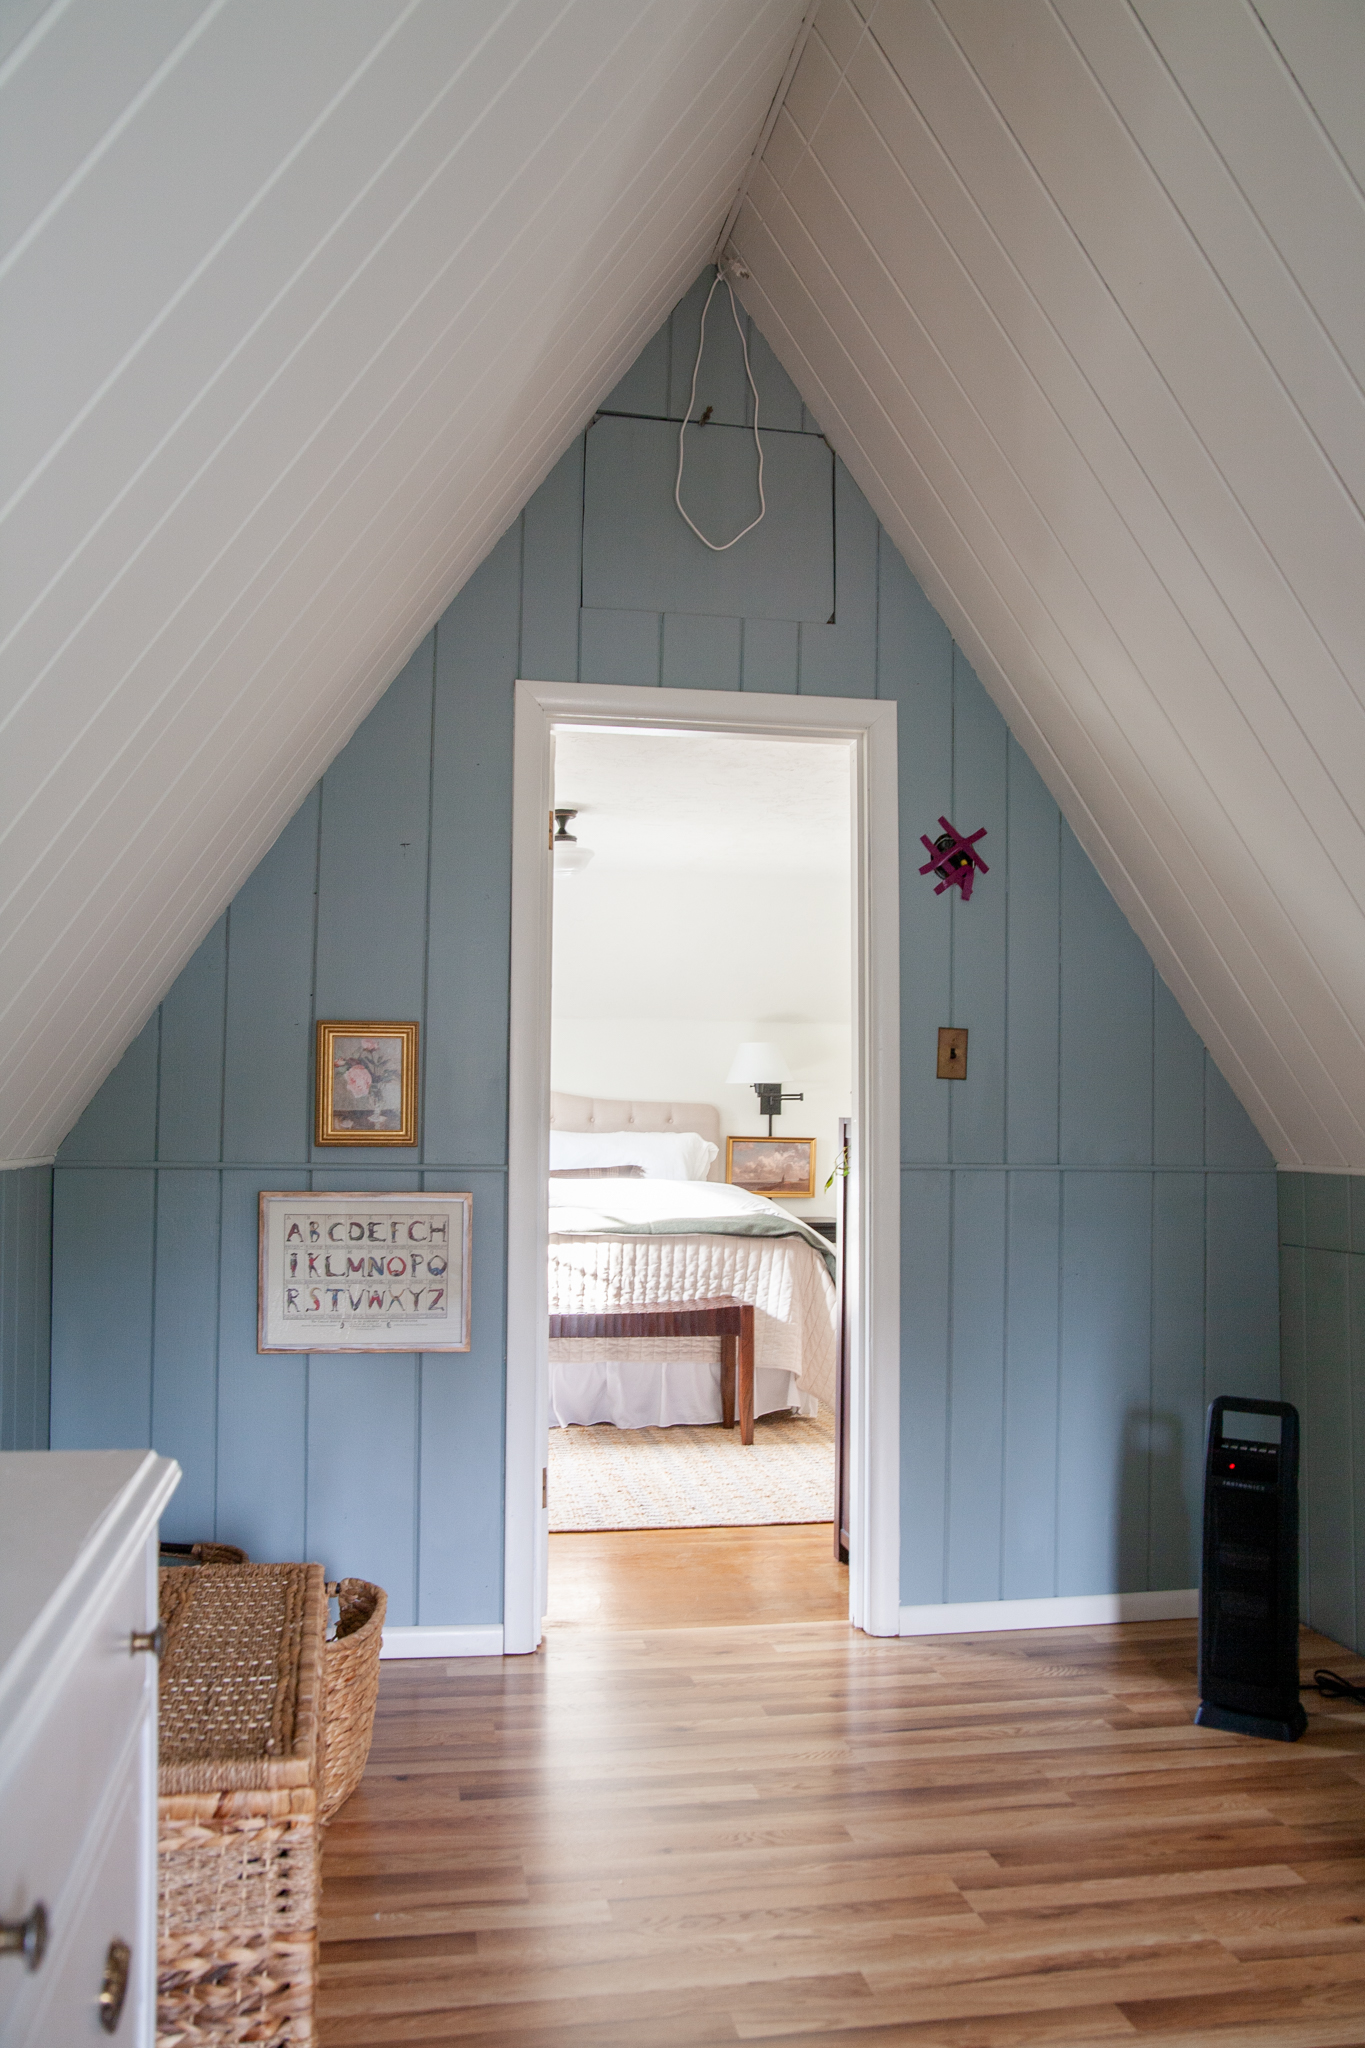
We think this paneling/this room was finished out in the 50's or 60's, well after our home was built in 1937. If it was original/historic, nicer quality wood, I might not have felt right painting it... but I think a lot of times, wood paneling is not precious. It can be really overwhelming when there's a lot of it in a room. You could remove it, but leaving it and painting it gives a room instant character (in whatever color you want!)!
No comments
Post a Comment