

A durable, quality ruffle pillow--tutorial!
So, I came up with a solution, and here's a tutorial for how I turned some grey ruffle fabric (leftover from this project and also this project) into a lasting pillow!
- You'll need to start with a bit of of of pre-ruffled fabric, backing fabric (optional; you could do the whole thing ruffled), and muslin or any plain cotton (yardage amounts depend on the size of your pillow). Could be old quilting fabric you're tired of, something you got cheap, whatever. Oh, and you'll need a pillow form! And a zipper.
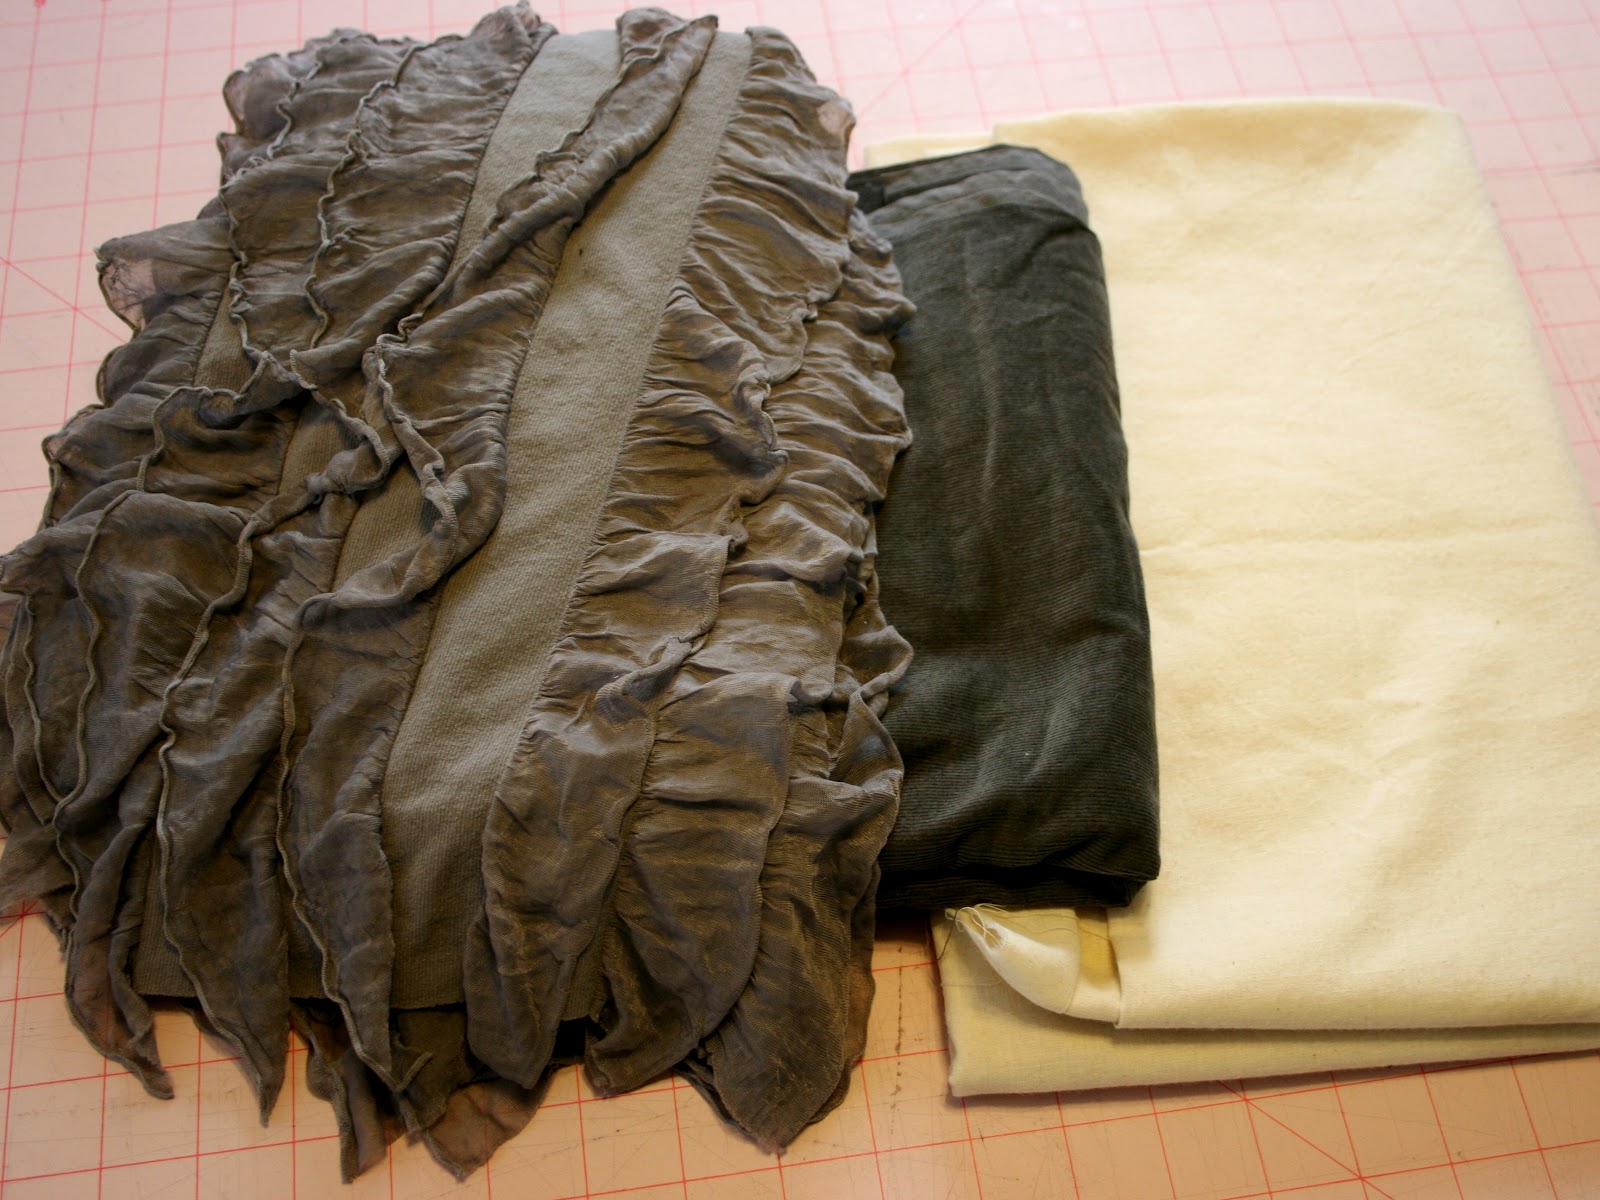
- My pillow was 20" square, so I wanted the final pillow cover to be 20" also. No wiggle room makes it look more professional! I used 1/2" seam allowances all the way around, so I cut out two 21" x 21" squares of the interlining fabric--front and back.

- Then, for the backing, cut out a 21" square of the back fabric.

- Then for the good stuff. I cut out a 21" square (approx) of the ruffle fabric--however, it didn't quite line up so I cut it a little smaller. I wanted to cut exactly in between two ruffles going the long way on the fabric.


- (To cut down for the other dimension, make sure you lay the ruffles flat so you cut them straight!)

- Now, you have four pieces--front square, back square, and two interlining squares. I didn't have a grey invisible zipper of the right size, so I used a purple one--thought the color would be nice, actually. And was too lazy to go to the store. ;)

- Now, carefully align your front square and an interlining square. Pin every ruffle down flat, through all layers. Pin up the very bottom ruffle so it doesn't get in the way of your bottom seam.

- Do the same thing on the back. Lots of pressing flat with your hands to make the squares line up! Then lots of pins.

- Now put in your zipper, through both layers of each side...

- Now, sew both sides together on the other three edges, being careful to keep those ruffles pinned pointing the right direction!


- Clip corners...

- And press your seams flat or to either direction, as best you can.

Done!!

Back view...

It almost goes with our grey West Elm bedding and fun circle pillow... can you tell I like grey? ;)

This ruffle fabric stuff is so much fun. It's so fast and easy to make really beautiful, interesting projects. Check out Ruffle Fabric if you're interested!
Eeeeee love!
ReplyDeleteI really like grey too my whole house is grey. Now this looks like a project I can start learning to sew with, squares easy to cut! The zipper part maybe a bit harder but I could try:)
Xx
Callie
Totally! I hope our new house can be almost all grey too, haha!
Deleteit turned out perfect :)
ReplyDeleteIt looks great, what a fun accent pillow!
ReplyDeleteVery cute! I definitely need some new pillows and this is a fun idea!
ReplyDeleteThanks, ladies!
ReplyDeleteSo pretty, love it! Very well-written directions, as well :-)
ReplyDeleteThanks, glad they were easy to follow!!
DeleteYour pillows are so pretty - I love that fabric and the colour too! I have this linked to my pillows post as well today, for inspiration!
ReplyDelete