WELCOME

Hello! I'm Suzannah, a serious DIYer and mom of two little ones. Follow along with my DIY fixer upper house renovations, sewing and crafty projects, real food recipes, and de-stressing goals.
I believe you can love your home just the way it is, AND have the power to design and make big changes to make it better.
I'm also the author of DIY Wardrobe Makeovers!

7.28.2016

New favorite romper! Simple strapless stripe

I am stoked about this romper!! I've made a few before, but never this simple, comfy, or easy to wear. The straplessness takes away the classic romper dilemma of "how do I get this on??" without lots of fastenings or a deep V in the front or back! It also made for super easy sewing. And the elastic at the waist and top make it SO comfy!! I used an organic rib knit provided by Organic Cotton Plus so it feels great, too!


My inspirations initially were these little things. I love the simple stripes.
1) LOFT 2) LOFT, out of stock 3) J.Crew Factory

I used this fine rib knit stripe from Organic Cotton Plus, a natural/charcoal stripe rather than black/white or black/navy.

I used Simplicity 1114, which I am prepared to argue is the easiest pattern ever. Seriously. Also, I skipped the pockets since I knew I was going to cut the shorts shorter than the pattern called for and I thought the pockets might show... so this little gem was 6 pieces plus the bias tape for the upper casing. I made it while husband slept the other Saturday morning. About an hour, maybe an hour and a half. (not counting cutting time). That includes the buttonholes I added for the drawstring! Which I think was a really great touch!

I am just in love with it!! I wore it as a swimsuit cover-up but I would also totally wear it out on its own or with a jean jacket to a farmers' market or other shopping or errands.

Seriously, I just want to wear it all the time! Even like around the house as summer loungewear! A one-piece outfit!

Pattern: Simplicity 1114
Modifications: 

  • Made shorts several inches shorter
  • Did not add pockets
  • Added buttonholes and drawstring at waist

Thanks to Organic Cotton Plus for providing me the fabric for this romper!

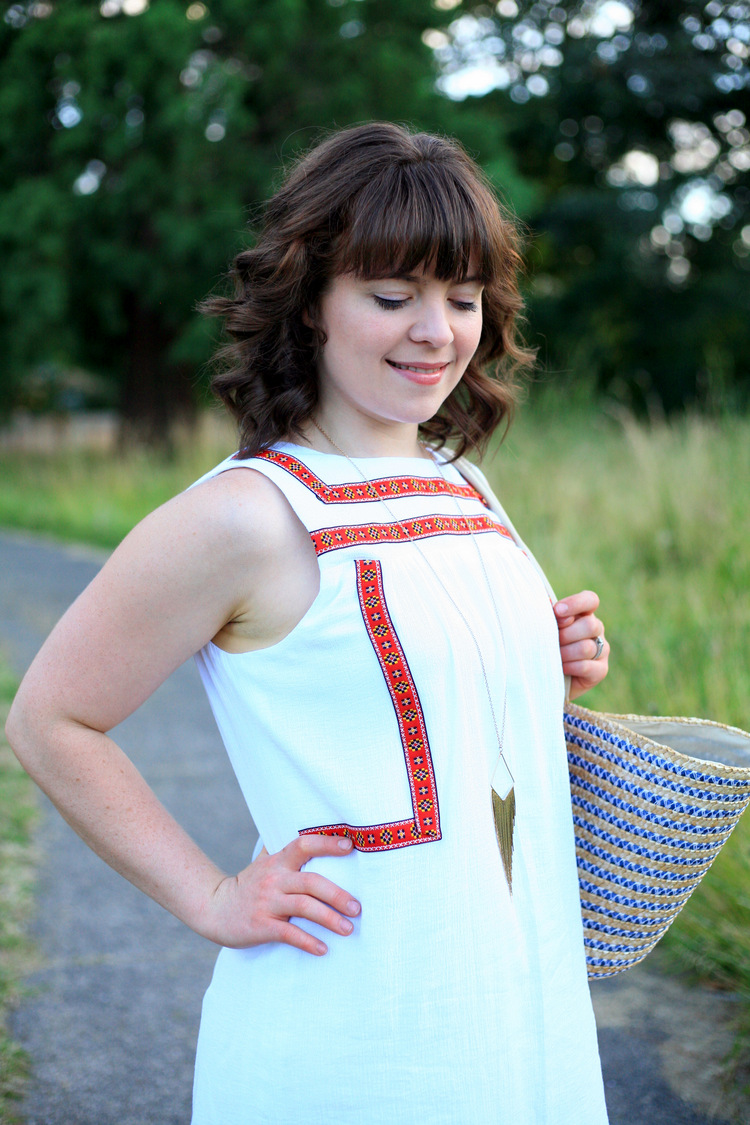
If you're not into sewing this summer, shop these similar ones (and totes like my new essential straw carry-all!):

No comments

7.26.2016

The SIMPLEST fancy dessert recipe - paleo flourless chocolate cake! You can do it!

I'm finally sharing this baking success with you!

We just got back from a lovely long weekend visiting husband's grandparents in one of the most beautiful places on earth, the Olympic Peninsula, on a ridge overlooking the strait out to Canada. 270 degree views and no one else around, just family and relaxing and books. It's pretty great when we get up there.

We're often celebrating birthdays or other reasons for treats, and I've made this [mostly] Paleo flourless chocolate cake/torte FIVE times now while we've been up there visiting! Husband's grandparents and the family love it, and it's SO simple and can be made with ingredients they already have on hand.

It's inspired by this recipe, with a few tweaks since I've made it five times now! Here's my version!


Super Simple Paleo Flourless Chocolate Cake


Ingredients:


You will also need a springform pan--a 9" one will make a taller/more traditional looking cake, or a 10" one will make a flatter one for more, smaller pieces and easier to cut.

    Instructions:


    1. Preheat oven to 275 degrees.
    2. Melt the chocolate and fat of choice in a double boiler (or very carefully in a saucepan). Stir constantly until chocolate is fully melted.
    3. Transfer the chocolate to the bowl of an electric stand mixer or use a handheld mixer and beat in vanilla and sea salt. Then beat in eggs, slowly, whipping on medium-high.
    4. Grease a 9" springform pan with more coconut oil, ghee, or butter (I used a 10" pan--makes it flatter, a little easier to cut but less cake-like) and dust it with cocoa powder. Add cake batter to pan.
    5. Wrap the base of the pan with foil to keep water from getting in. Fill a larger casserole dish or pan with water reaching halfway up the side of the cake.
    6. Bake for 50 minutes--cake will be set but still shiny and a little wet in the middle.
    7. Refrigerate about 4-6 hours or until firm before removing sides of pan.

    Serve with fresh berries, homemade compote, homemade whipped cream or coconut cream, and/or vanilla ice cream or coconut milk ice cream! What a treat no matter what you garnish it with!

    Depending on the sweetness of your chocolate chips or chocolate, you may or may not want to serve it with something else sweet like ice cream. We really enjoyed it with fresh local summer berries!

    Try this recipe next time you need a super simple, easy grain-free dessert to impress a crowd! It's also dairy-free if you use coconut oil instead of butter or ghee, and of course is gluten-free. If you use a 100% dark chocolate, it is also refined sugar free, but then I recommend you add at least 3/4 cup maple syrup for sweetening!

    Shop the kitchen essentials used in this post here!

    No comments

    7.21.2016

    The deal with Thrive Market

    I've been hearing a lot lately about Thrive Market, and you probably have, too. I first heard about it a couple years ago on Robb Wolf's podcast, touted as a mix between Costco and Whole Foods--high quality groceries and products at a discount if you're a member.

    It took me a while to try it out, though! I recently made my first order and have spent some good chunks of time researching and shopping at Thrive, and I wanted to talk about my experience - the pros and cons - and if you want to try it yourself, you can get a 1-month free trial and 15% off your first purchase!

    No comments

    7.19.2016

    Black and white gingham fit-and-flare dress

    I made this black and white gingham dress earlier this summer and I'm pretty much obsessed. I've worn it quite a few times and it's so versatile, not too dress or too casual, super fun, and goes with everything!

    Gingham in basic colors is usually easy to find and pretty affordable, too! I figured, with how much I love the first one, it wouldn't hurt to have another, though different, checkered dress, right??

    I did want to do a pretty different style than my elastic waist, ruffled one. I looked around at gingham dress inspirations (there are a TON!) and decided to keep it really simple and do a fit-and-flare, full-skirted style. Like these:

    I used/modified Simplicity 4531, which is completely ancient and I'm sure out of print, but you could use any fitted camisole bodice dress pattern. I did a simple gathered skirt, two panels.

    The style is so simple and classic, except the shorter skirt!

    I cut the center front of the bodice down to a sloped V, rather than the wide scoop the pattern called for.

    So fun to wear, and summery!

    Now I may have the issue of having to decide between these two checkered numbers when I get dressed for the next summer event... I guess this one is a little more formal and the other is a little more backyard BBQ-ey!

    Pattern: Simplicity 4531
    Modifications: 

    • Changed shape of neckline to deep V/sweetheart
    • Ignored skirt pattern, used two panels cut to desired length instead
    • Cut straps on straight grain instead of bias cause I didn't have enough fabric

    Of course, if you don't feel like sewing your own, there are a couple of great options for very similar ones!

    No comments

    7.14.2016

    Embroidery-inspired ribbon trim crepe shift dress

    I sure do love summer dresses! This one's a little different than several recent ones because I had some fun with trim!

    This sweet white crepe shift dress was inspired by this embroidered swing dress from LOFT, and I guess also by those beautiful, multi-colored embroidered yoke Mexican cotton ones. So pretty, and you could make one at home, but that's a lot of specialty embroidery! It would be quite a project. But I liked the simple design of the embroidery around the neck of the LOFT one and actually, I looked around and found quite a few with similar amounts and patterns of trim.


    I figured, I  have some cool patterned ribbon, I could shape it pretty similarly to the embroidery patterns. I just needed a yoked dress pattern. I dug out Simplicity 2896 (very old) and modified the shape of the yoke a bit. And I gave it a full lining instead of the facing the pattern called for, since the cotton crepe I used is so sheer.

    It's not as complex or detailed as the pretty embroidery patterns, but I really like the amount of trim in this pattern and the colors! Very summery, right?? Perfect with espadrilles and my new favorite thing, a summery straw carry-all tote.

    I totally love it!!

    Pattern: Simplicity 2896
    Modifications: 

    • Made yoke straight across instead of curved
    • Made neckline more of a scoop neck, less of a boatneck
    • Gave dress a full lining instead of facing
    • Made it shorter

    You know how sometimes you smell something and it reminds you of a place or time? I feel I should also disclose that I carefully placed all that ribbon while watching the Seinfeldvision episode of 30 Rock. I recently started rewatching as a fun escape during sewing time. So Tina Fey is partially responsible for this dress!

    If you don't have time for sewing one yourself but love the soft, crepey, embroidery trim look, you can shop these similar ones below, some under $30. Also some great espadrille and tote options!!


    No comments

    7.12.2016

    How to host a [low-stress] clothing swap!

    Have you ever been to a clothing swap?!? It's just like it sounds - gather with friends and bring unwanted clothing, and trade with them! I've been to two and just recently hosted one, and it was such a success that I wanted to share my tips and take-aways with you.

    How to host a clothing swap (low-stress style!)


    I've been to a formal clothing swap, with a long period of gathering/making piles and scoping out before a hard start point when the swapping began, and an informal clothing swap with potluck brunch and people coming in and out at different times. I decided I wanted to host one of my own when I noticed my thrift store pile had grown pretty big and had a lot of nicer pieces in it, things I wanted to share with friends. I've always loved trading clothes with friends, but my style is definitely different than that of some of my friends and I never want to impose a piece on one particular friend... so a swap is the way to go, though there isn't always one when I need one!

    So I put together a clothing swap of my own and it went really well. Here are a few things I did that worked out great!

    1) Find a co-host. I cohosted with my friend who'd held the informal swap before. She invited some of her friends and I invited mine. I hosted at my place so I still had to do a lot of cleaning, but having someone to help with invites, potlucking, and cleanup (see item 5) `was great! Plus, the more the merrier, and it's really fun to mix groups of people and get a wide range of styles at these things.

    2) Create a Facebook event but also send personal invites. I created a big private Facebook event and even used the occasion to friend some people from work! The Facebook event was good to share content in, as well. Post info about what a clothing swap is, for friends who've never been to one before. You could post a link to this very blog post!! I shared this one but I don't think it was that helpful. Facebook events can get lost in the shuffle but every time you post, invitees get a notification. So sharing regularly before the event keeps it in everyone's minds. I also sent individual emails and texts to a few friends who I know don't check their Facebook accounts much!

    We planned our party about a month ahead and held it on a Tuesday evening. There's never a day or time that works for everyone, but summer weekends can be so busy and we got a good group of people for a fun mid-week break!

    3) Skip the rules. I conferred with my co-host about if we wanted to start swapping at an official time or do the one-for-one trade rule of some swaps. We both agreed it was best not to. It's really more fun for everyone when things are informal. It's first-come, first-served, but people are pretty nice about sharing things and it really takes the pressure off to keep it low-key. Plus, who has time or attention to keep track of how many items everyone's swapping??!?

    4) Swap everything! It's called a clothing swap and it's mostly women's clothes, but people also brought cosmetics and I shared a bunch of home decor items. There was also a men's clothing pile. Notify your guests if you'll have room for other categories, so people feel welcome to bring whatever they want to share. We also had guests over a very wide range of sizes, so bringing accessories and all kinds of items means more people can swap with each other.

    Also plan to swap athletic wear! That's been a surprisingly popular category at this and another clothing swap I went to.

    5) Donate the rest to a good cause. I think we had about 15 guests at our swap. When we were done, some people took back some of the items they'd brought that no one had taken, but most of the clothes were still left over in my living room and dining room. Like, TONS of clothes. I counted 17 bags, but some were much larger than others. We sorted the clothes, accessories, etc. into three major groups: 1) work-appropriate clothes (these went to Dress for Success), 2) more casual, youth-appropriate clothes (these went to Northwest Children's Outreach, which provides clothes and goods to foster kids and is always short on items for older children), and 3) random miscellaneous such as household items--these went to Goodwill. I filled my car twice, donating things over a couple of days. This cleanup phase was definitely the most work, but totally worth it after such a fun evening with friends and I really hope our clothes go to people who really want and need them!

    Hosting a clothing swap is a lot of work, but not more than any party, and you get new clothes at the end of it!! Everyone had a great time (and posted in the Facebook event afterwards, keeping the community going--yay!) including me, even with all the cleaning husband and I did the weekend before! Before it happened I was thinking, wow, this is a lot of work, I'm not doing this again! But it was so enjoyable bringing my groups of lady friends together and playing with clothes that I think I might again sometime. Although, if any of my friends wants to host one, I'd be just as happy going to theirs! ;)


    No comments

    7.08.2016

    Black and white bias summery top - the Hunter Tank pattern

    I am just so impressed by people who make and publish their own patterns! Like this one by Jennifer Lauren Vintage. She's a reader and asked me if I'd like to try out her new top pattern!

    Click through to read more...

    No comments

    7.06.2016

    Sharing my dresses with you!! 2nd Edition

    Update: All the dresses have gone to homes--it took less than 24 hours, and less than 12 for most! I got sweet emails from so many of you and I'm so happy we were able to connect--and I hope you love your dresses!

    This is a very special kind of post! I don't do custom sewing but I do love to share my creations with the world, sometimes in ways other than hopefully inspirational blog posts ;). Last summer when we thought we were moving, I started cleaning out the spare closet and shared a handful of dresses I'd made that no longer fit me or are no longer part of my lifestyle.

    Those dresses went like hotcakes!! Within minutes of publishing the post I had quite a few emails about them. One of them, I was so excited, was from an old college friend who was perfect for the very cool pale blue lace overlay full-skirted party dress she wanted! How cool is that?! Of course, all my readers are my friends once I get emails from them =), and I'm just so happy when these pieces can go to good homes.

    As with last time I did thisI don't want any money for them, other than to cover the cost of shipping unless you live around Portland and want to pick one up. Please take a look through these 10 super cute, well made, fun and playful dresses and send me an email to reserve the one (s) you want!! Most of them have only been worn once or twice.

    No comments

    Search

    © Create / Enjoy • Theme by Maira G.