
Scary stairwell renovation: paint, flooring, and functional updates!
We made a few small changes over a couple of weekends and totally transformed this functional space!

Here's the "before." One of the scarier views of our fixer upper house! (See all the before pics here.) That exterior door all scratched up from a previous owner's dog (?), peeling 70's wallpaper, peeling vinyl flooring (the same stuff we had tested for asbestos in the kitchen--the glue came back positive), dirty ivory paint. This is the first space we see when we walk in the door every day, so it was really just a depressing reminder of how much work our sweet old house needed.

View from the kitchen. That flooring was always dirty and hard to see the dirt because of the stains.

We started storing things there--boxes of La Croix, shoes, a bag of cat litter--there and on the stairs going down to the basement. This added to the dirt and dust and grossness.
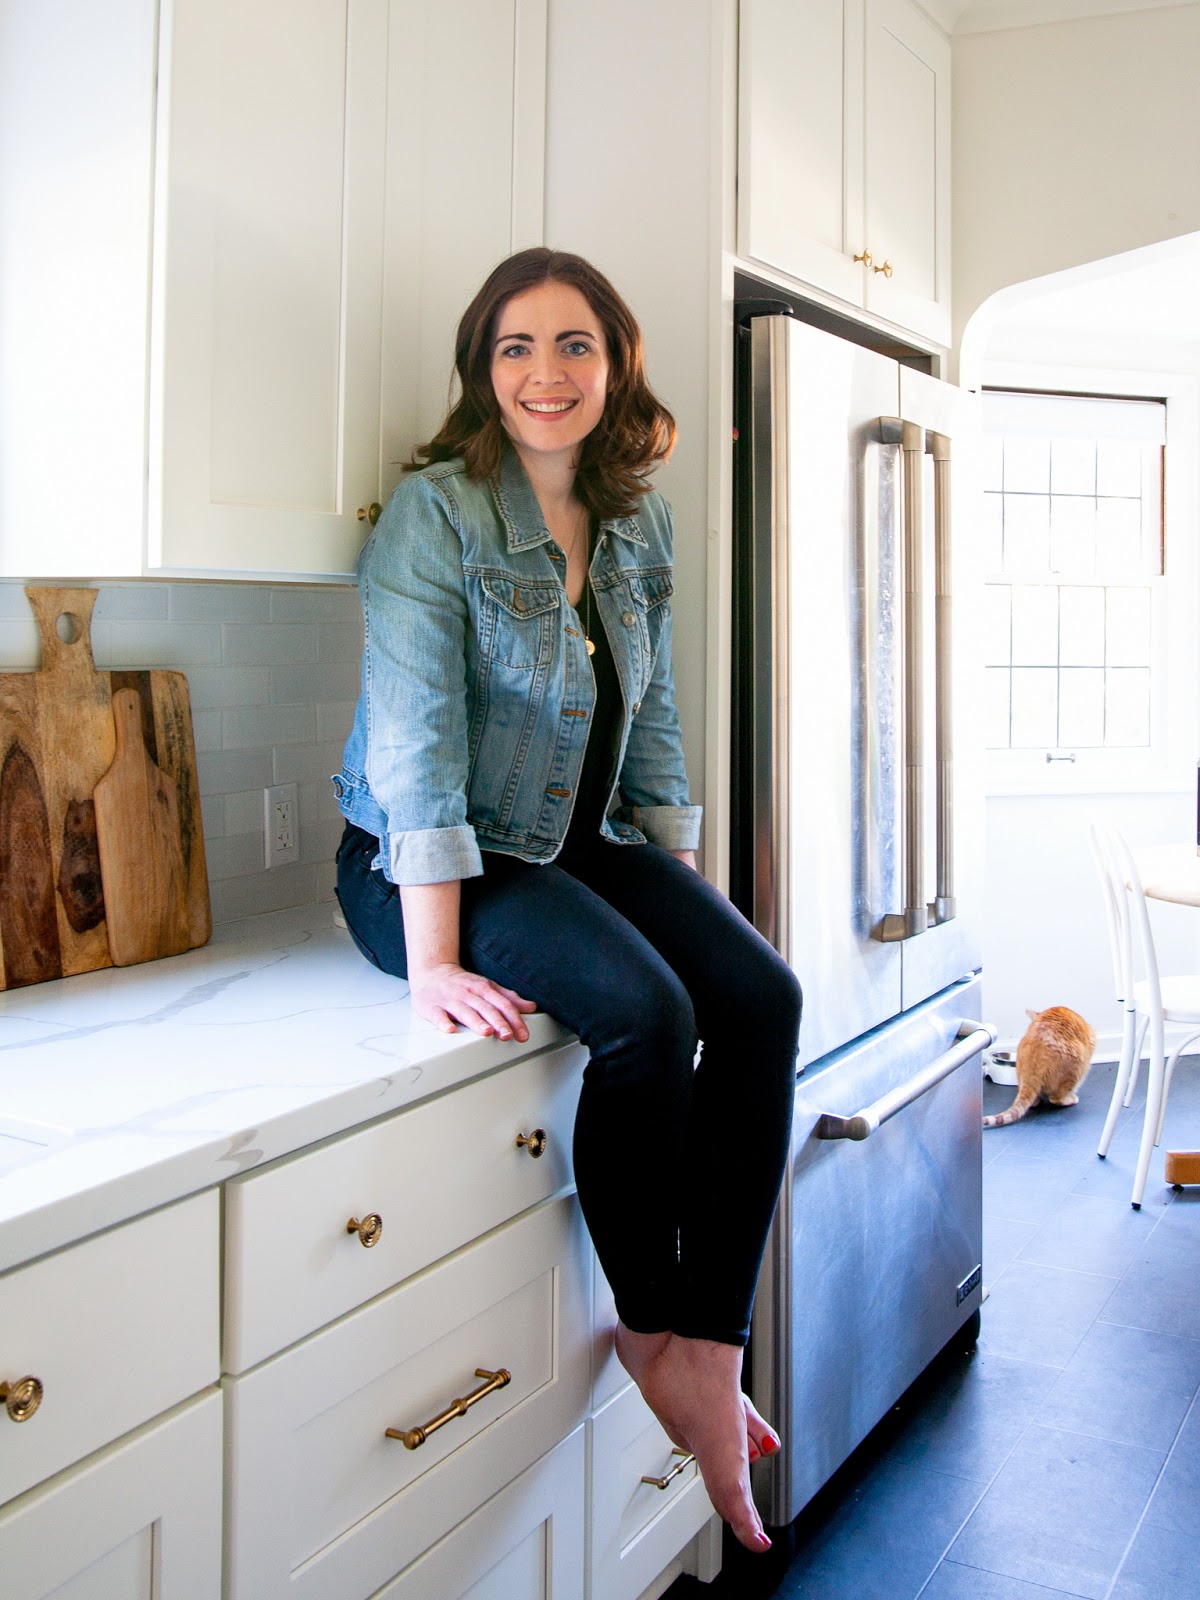
Additionally there's no space for a console table there or in the kitchen, so I was always storing my purse, lunch bag, grocery bags, etc. on the kitchen counter! So cluttered.
Scary stairwell makeover
When we redid the kitchen we got enough sheet vinyl flooring to cover the floors in here too (it's from Armstrong Flooring, see my tutorial here) and planned to give everything in here a fresh coat of paint.
We had to use a thick coat of floor leveler in here to cover up the pattern in the old vinyl, but also because it was peeling and uneven on the edges.

Then we made the template like we did in my previous tutorial, and cut and glued down the vinyl!

Previously the yellow linoleum was applied up the stair risers as well. Not the look we wanted, even with our nice slate-look vinyl. It looks like tiles--tiles wouldn't curve up a stair riser. So we got these primed stair risers, cut them to size, and painted them. Genius product!
We also added new metal noses to the stairs, in stainless steel which is not my favorite but does look much better than the brass that was there before.
We added baseboards and quarter round where some had been missing previously. Adding trim really finishes the look of even a small space!

What a difference!!
The exterior door is still dingy and yellow until we have the house painted (hopefully later this year). But look past that for now...

We painted the beadboard wainscoting from ivory to white, which makes it look clean but keeps its old house charm. We sanded down and restained the handrail and added cuter new brackets. (I can't find them in black online but they are these.)

We removed the old roll-up shade which didn't roll down anyway. Painted everything white!

We painted the stairs to the basement a grey color meant to be similar to the slate-look vinyl.


I added two of these hooks ($9 for a pack of 9, and so elegant!)--I also put two in the kitchen. Now I have plenty of options for hanging a raincoat, grocery bags, etc.


So pleased with how this space turned out, in just a couple weekends' worth of part-time work. A very satisfying project!

No comments
Post a Comment